
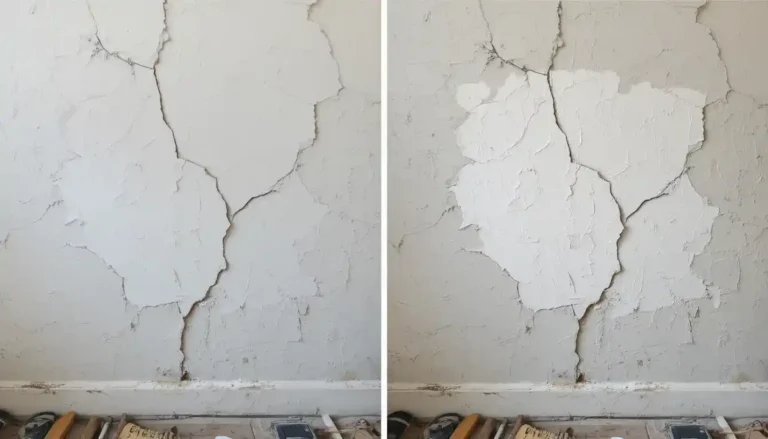
If you’re dealing with cracks, holes, or sagging plaster walls, you’re not alone. Plaster repair can feel daunting, but with the right tools and techniques, you can restore your plaster wall to its original beauty. In this guide, we’ll show you step-by-step how to fix plaster walls, patch cracks, and make advanced repairs. In this detailed guide, you’ll learn everything about plaster wall repair—from identifying damage to mastering advanced restoration techniques—so you can tackle any repair with confidence.
Table of Contents
1. Understanding Common Plaster Wall Damage
Before you gather materials, it’s crucial to recognize the types of damage you might face. Identifying the problem correctly ensures you apply the right plaster wall crack repair or patching method.
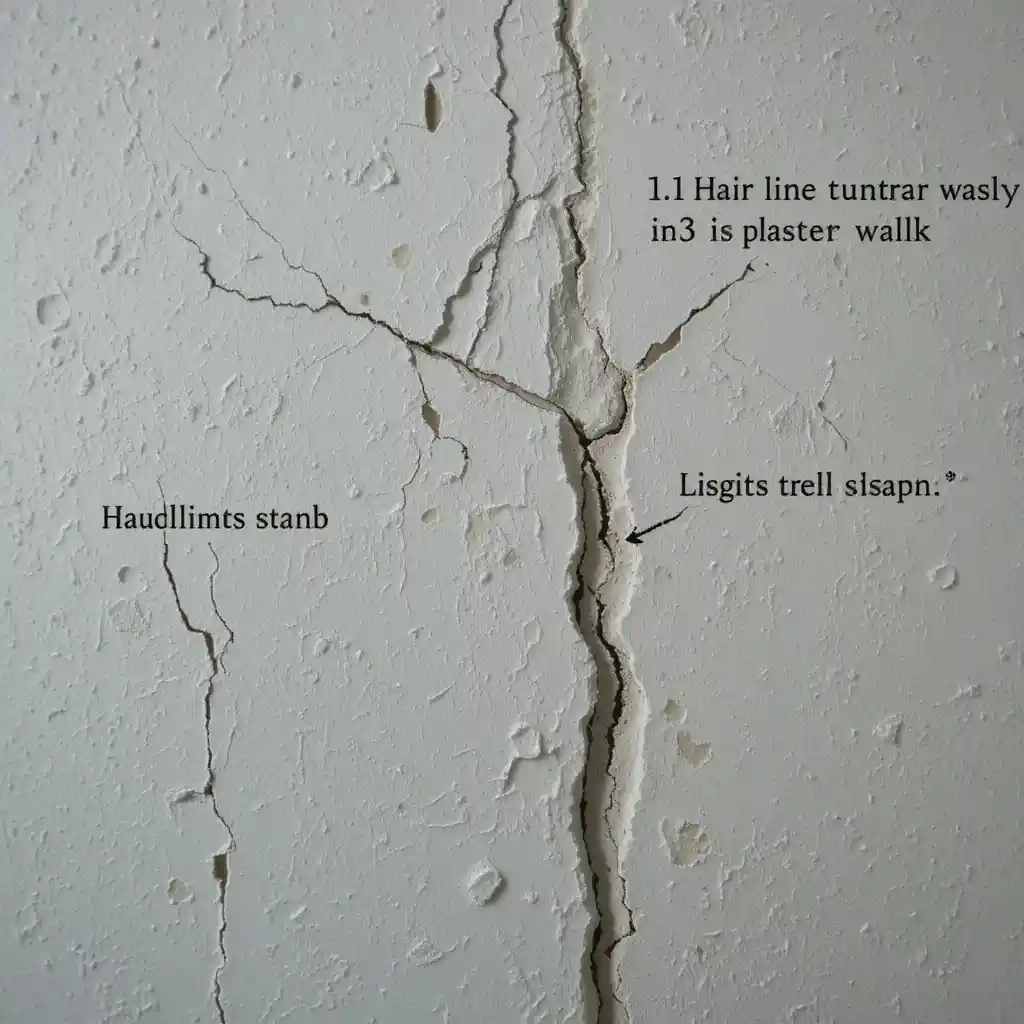
1.1 Hairline Cracks
- Look: Fine, spider‑web lines often appearing near ceiling joints or around doors.
- Cause: Normal structural settling, temperature fluctuations, or shrinkage of plaster.
1.2 Medium to Large Cracks
- Look: Gaps wider than 1/8″, sometimes extending several inches.
- Cause: Movement of supporting studs, moisture infiltration, or impact damage.
1.3 Holes & Gouges
- Look: Small nail holes up to fist‑sized gaps created by accidents or wall fixtures.
- Cause: Hanging heavy items without anchors, removal of old hardware, or accidental impacts.
1.4 Sagging Plaster
- Observation: You may see areas where the plaster bows inward or hangs loose from the wooden lath.
- Cause: Failing adhesion between plaster and wood lath, water damage, or aging materials.
By pinpointing whether you need plaster wall hole repair, crack injection, or a full sagging area reattachment, you’ll avoid wasted effort on the wrong fix.
2. Materials & Tools You’ll Need
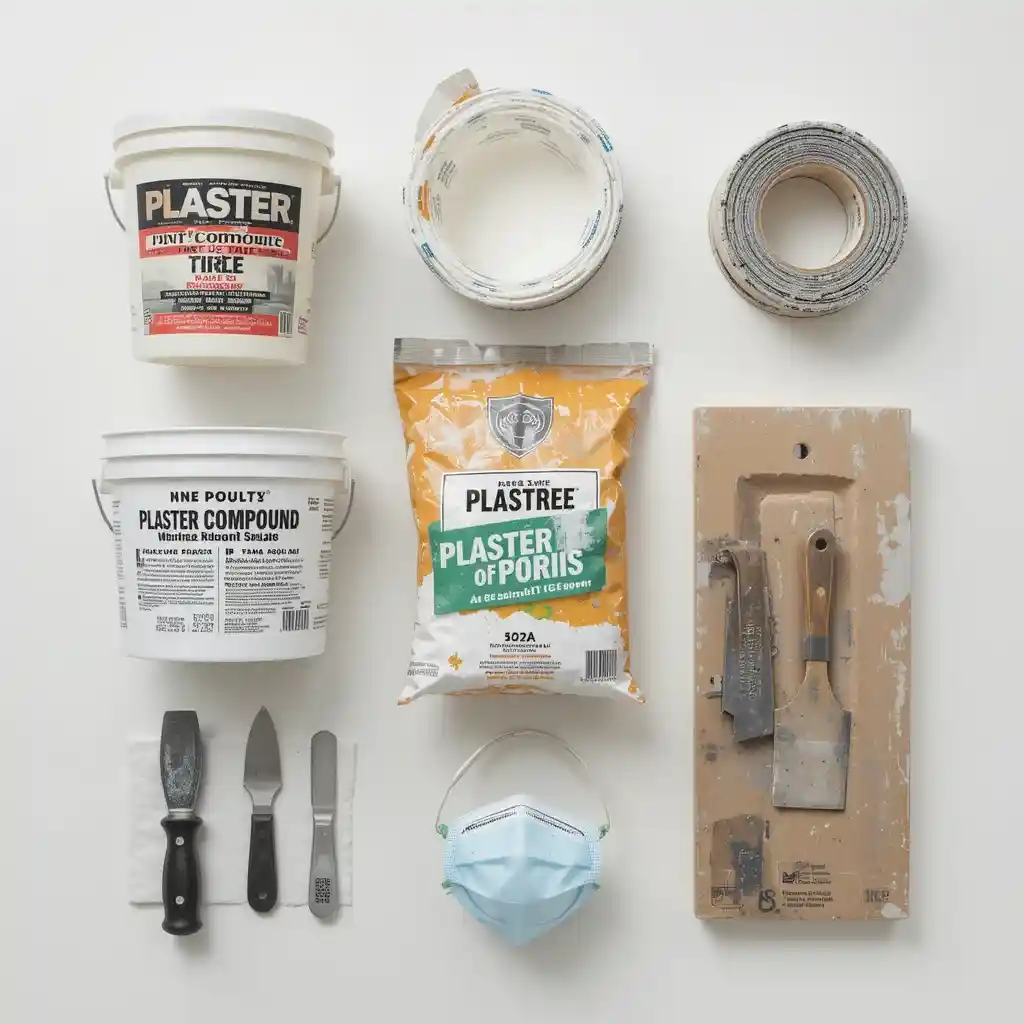
A successful plaster wall repair starts with assembling high‑quality supplies. Here’s your checklist:
2.1 Core Supplies
- Plaster Patching Compound: Premixed or powder—formulated for smooth texture matching.
- Joint Compound (Drywall Mud): Versatile alternative for light repairs.
- Plaster of Paris: Rapid‑setting for deep patch holes.
2.2 Bonding & Reinforcement
- Latex Plaster Bonding Agent: Promotes adhesion on bare lath or porous surfaces.
- Fiberglass Mesh Tape: Embeds over cracks to prevent future splitting.
2.3 Essential Tools
- Putty Knives: 4″ and 6″ for spreading compound.
- Hawk & Trowel: Large surface application of plaster.
- Sanding Blocks: 120–220 grit for smoothing patches.
- Utility Knife: Clean out loose debris and create “key” slots for compound to grip.
- Dust Mask & Safety Glasses: Protect lungs and eyes from dust.
2.4 Optional Extras
- Scarifier or Wire Brush: Prepares old plaster for better bonding.
- Latex Gloves: Keep hands clean when mixing compounds.
- Plastic Sheeting & Tape: Safeguard floors and furniture.
Gathering these plaster wall repair tools and materials in advance ensures you won’t pause mid‑project to hunt down a missing item.
3. Preparing Your Wall for Repair
Proper preparation lays the foundation for a durable finish. Skipping these steps can lead to cracks reappearing or patches failing to adhere.
3.1 Cleaning & Removal
- Remove Loose Plaster: Use a utility knife or chisel to lift flaking edges.
- Vacuum Debris: Clear dust and small particles from cracks and holes.
- Degrease Surface: Wipe with a damp cloth if walls are grimy.
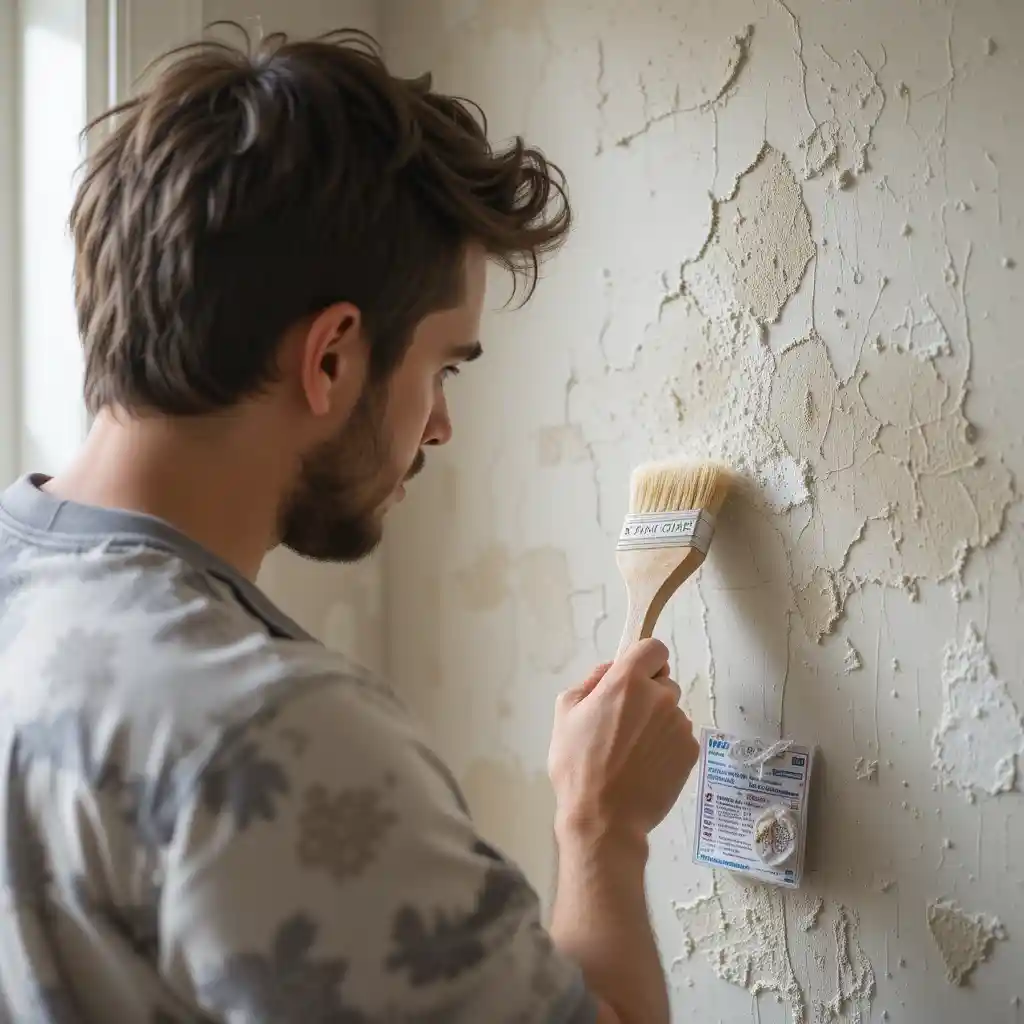
3.2 Priming & Bonding
- Apply Bonding Agent: Use a brush or roller to cover bare wood lath or exposed plaster with latex bonding agent—this priming step ensures your repair adheres firmly.
- Let It Cure: Wait the manufacturer’s recommended time before applying joint compound.
By thoroughly preparing, you’ll avoid the frustration of patches that detach or shrink.
4. Step‑by‑Step Repair Techniques
Different damage calls for different fixes. Follow the section that matches your wall’s condition.
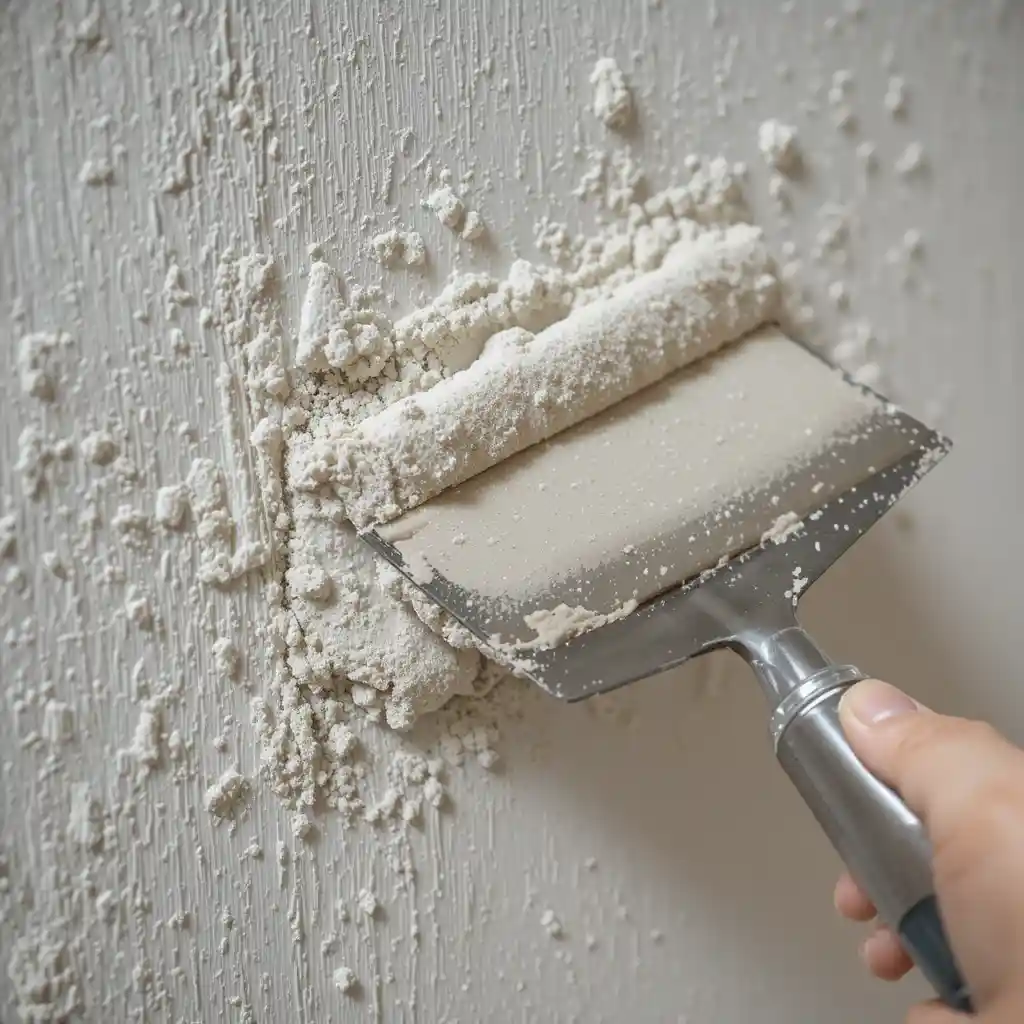
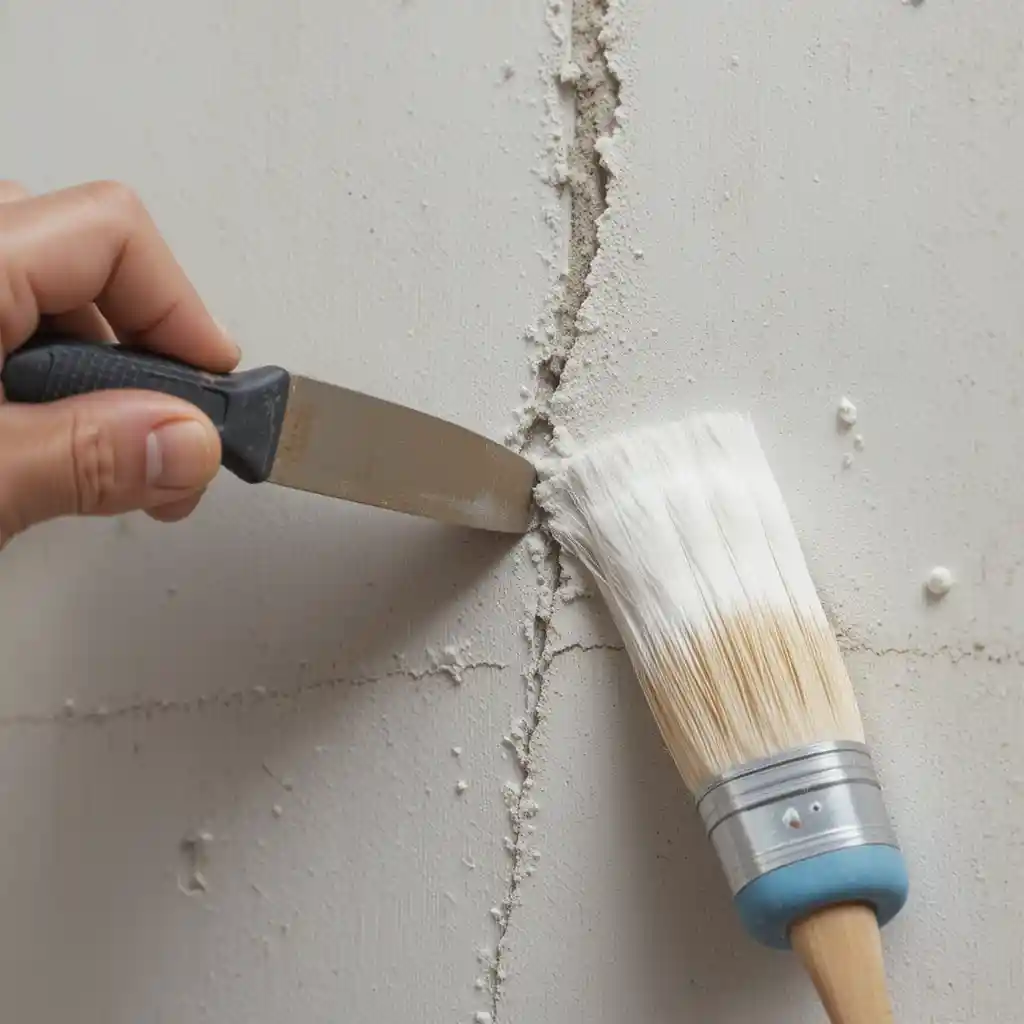
4.1 How to Repair Hairline Cracks in Plaster Walls
- Embed Mesh Tape: For cracks wider than 1/16″, lay fiberglass mesh tape over the line.
- Apply Joint Compound: Spread a thin layer, feathering edges with a 4″ putty knife.
- Sand & Repeat: After drying (usually 24 hrs), sand smooth. Apply a second skim coat if necessary.
4.2 Patching Small to Medium Holes
- Pre‑fill Deep Gaps: For holes over ½”, fill with plaster of Paris.
- Layer Joint Compound: After base sets, cover with two thin layers, allowing each to dry fully.
- Sand Smooth: Feather edges so the patch blends invisibly.
4.3 Reattaching Loose or Sagging Plaster
- Drill Small Holes: Through the loose plaster into the lath.
- Inject Adhesive: Use a caulking gun to inject bonding agent behind the plaster.
- Clamp & Cure: Press plaster flush, then insert drywall screws with washers to hold until set.
- Cover Screw Heads: Fill over screws with patching compound, sand after cure.
4.4 Reinforcing with Mesh Tape
- Clean & Bond: Prime cracks with bonding agent.
- Embed Tape: Place mesh over crack, pressing into fresh compound.
- Skim Coat: Cover tape with a thin finish coat, feathering edges.
- Final Sand & Seal: Sand smooth, then seal or prime before painting.
5. Advanced Restoration & Finishing
For historic homes or decorative plaster walls, matching texture and finish is paramount.
5.1 Texture Matching
- Light Knockdown: Use a damp sponge to gently pat a thin compound coat, replicating original stipple.
- Skim Coat Technique: Apply a uniform 1–2 mm finish coat, then texture with a trowel.
5.2 Historic Lath & Plaster Repair
- Horsehair Plaster: For period properties, source compatible horsehair plaster mix.
- Multiple Coats: Apply scratch, brown, and finish coats to replicate authentic layering.
5.3 Sanding & Sealing
- Grit Selection: Start with 120‑grit on heavy patches, progress to 220‑grit for final smoothing.
- Dust Management: Mist lightly with a spray bottle during sanding to minimize airborne dust.
- Seal or Prime: Use a high‑quality primer or clear sealer to prepare for paint.
6. Cost Estimates & Common Pitfalls
Understanding the true costs and common pitfalls helps you work more efficiently and avoid overspending.
6.1 Budget Breakdown
- DIY Supplies: $20–$50 for compounds, tape, and adhesives per small room.
- Professional Labor: $200–$500 per room for full patch and skim coat.
6.2 Avoiding Re‑Cracks
- Proper Bonding: Skipping bonding agent often leads to failure.
- Thin Coats: Thick, single fills crack and shrink. Use multiple thin layers.
- Curing Time: Rushing paint over damp compound triggers surface cracks.
6.3 Safety Tips
- Ventilation: Work in well‑ventilated areas when sanding.
- Protective Gear: Wear a dust mask, eye protection, and gloves.
- Furniture Coverage: Shield nearby items with plastic sheeting.
7. Frequently Asked Questions (FAQ)
How do I repair plaster walls?
To repair plaster walls, start by cleaning any cracks or holes, apply a bonding agent to ensure proper adhesion, and fill the damaged area with plaster or joint compound. Sand it smooth once it dries and apply a primer before painting.
How to fix cracks in plaster walls?
To fix cracks in plaster walls, first clean the crack with a utility knife to remove debris. Apply a bonding agent to the exposed surface, then fill the crack with plaster patching compound. Smooth the surface and allow it to dry completely before sanding.
Q3: What’s the difference between joint compound and plaster patching?
A3: Joint compound is gypsum‑based and slower setting; plaster patching (plaster of Paris) sets quickly, ideal for deeper fills.
How do you repair large holes in plaster walls?
For large holes, start by cleaning the edges and removing any loose plaster. Use plaster of Paris to fill the hole, then layer joint compound over the top. Once dry, sand the surface smooth and apply a primer before painting.
How to patch plaster walls?
Patching plaster walls involves cleaning the damaged area, applying a bonding agent, and filling small holes or cracks with plaster or joint compound. For larger areas, use mesh tape for added reinforcement. Sand smooth and prime before painting.
How do you fix plaster around electrical outlets?
Turn off the power to the area. Carefully remove the outlet plate and clean the plaster around it. Use plaster compound to fill any gaps, then smooth and sand once dry. Reinstall the outlet plate once the plaster has fully cured.
How to fix cracks in plaster ceilings?
To fix cracks in plaster ceilings, clean the crack thoroughly and apply a bonding agent to the affected area. Fill the crack with a plaster patching compound and allow it to dry completely. Sand it smooth and prime before painting.
Can you patch plaster with drywall?
While drywall is not a direct substitute for plaster, you can use drywall compound for small repairs or patching over plaster. However, for larger repairs, it’s better to use plaster-specific products for a seamless finish.
How do you repair peeling paint on plaster walls?
To repair peeling paint on plaster walls, scrape off the loose paint, clean the wall, and apply a bonding agent to the exposed plaster. Once dry, apply a fresh coat of primer followed by paint to restore the surface.
How to repair old plaster walls?
For old plaster walls, assess the damage, remove any loose or crumbling plaster, and apply a bonding agent to the bare wall. Fill cracks and holes with plaster patching compound, then smooth, sand, and prime the wall for a new finish.
How long does plaster repair take to dry?
Plaster repairs typically take 24-48 hours to dry, depending on the thickness of the application and the type of plaster used. Ensure the surface is completely dry before sanding or painting.
8. Conclusion & Call‑to‑Action
You’ve now mastered the essentials of plaster wall repair—from spotting damage to performing advanced restoration and avoiding common pitfalls. Whether you’re a seasoned DIYer or tackling your first patch, your walls can regain their flawless finish with patience and the right approach.
Ready to transform your walls? Grab your toolkit, review this guide, and start repairing today. Share your before‑and‑after photos using #PlasterWallRepairSuccess on Instagram or Facebook—let’s inspire others to breathe new life into their spaces. If you prefer guided video tutorials or professional products, explore our recommended resources below.
Your walls deserve to look their best. Get started on your plaster wall repair journey now!
6 thoughts on “Plaster Wall Repair: How to Fix Cracks, Holes, and Damage Like a Pro”