
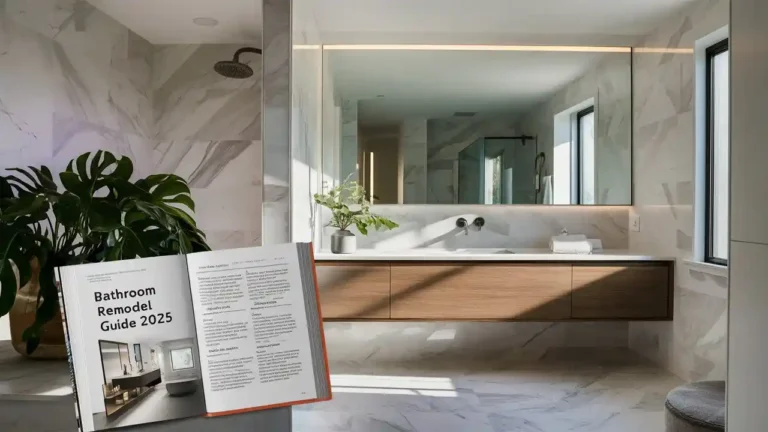
A bathroom remodel is one of the most valuable home improvement projects you can undertake. Whether you’re updating outdated fixtures, increasing energy efficiency, or redesigning the layout, a well-planned bathroom remodel can dramatically improve your home’s comfort and value.
This complete guide covers everything — from planning and budgeting to design choices, plumbing upgrades, and DIY vs. contractor decisions.
Table of Contents
1. Why Remodel Your Bathroom?
Bathroom remodeling goes beyond aesthetics. It’s about functionality, hygiene, and increasing property value. According to Remodeling Magazine’s 2025 Cost vs. Value Report, a mid-range bathroom remodel can recoup up to 60–70% of its cost in resale value.
Common Reasons to Remodel
- Outdated design or fixtures
- Water damage or mold problems
- Poor lighting or ventilation
- Inefficient plumbing or energy usage
- Desire for a more modern or spa-like feel
Pro Tip: Before starting, identify your main goal: comfort, style, resale value, or accessibility.
2. Planning Your Bathroom Remodel
The planning stage is where successful remodels begin. You’ll define your budget, layout, and materials here.
Step 1: Assess Your Current Bathroom
Take detailed notes about what works and what doesn’t. Check for leaks, mold, ventilation issues, and poor lighting. Photograph everything to reference later.
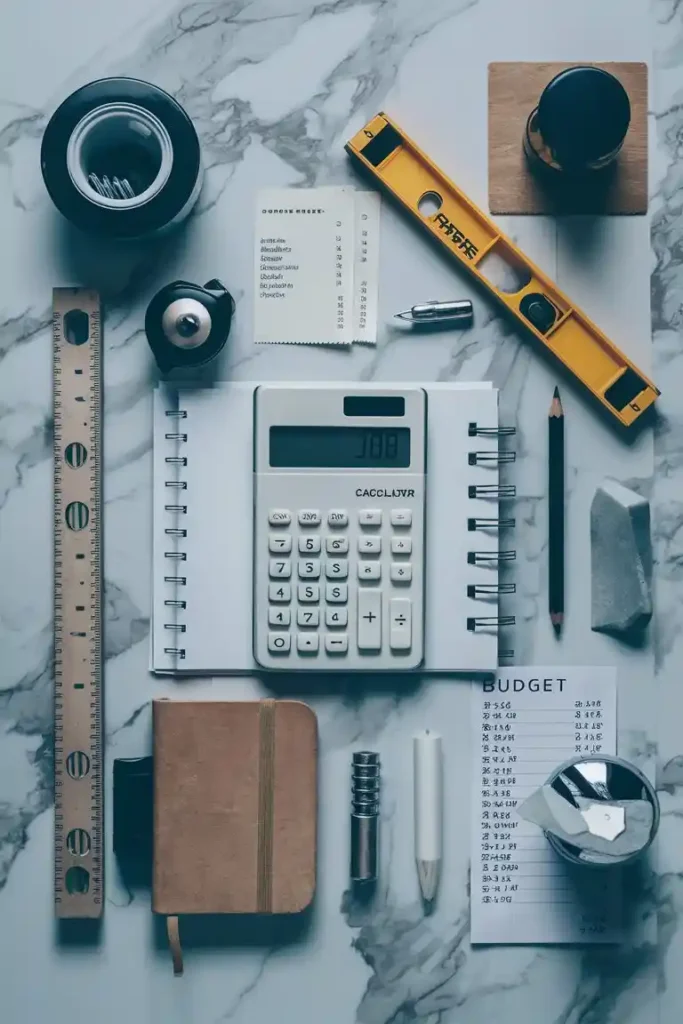
Step 2: Create a Budget
Remodel costs vary based on scope:
- Minor remodel: $5,000–$10,000
- Mid-range remodel: $15,000–$25,000
- Luxury remodel: $30,000+
Break down your budget by category:
- Fixtures & fittings: 35%
- Labor: 20–30%
- Flooring & tiles: 15%
- Plumbing & electrical: 10–15%
- Paint & finishes: 10%
Tip: Always set aside 10–15% for unexpected costs.
Step 3: Set a Timeline
A small bathroom remodel can take 3–4 weeks, while larger projects may take up to 8–10 weeks depending on complexity and contractor availability.
3. Designing the Perfect Bathroom Layout
A well-designed layout maximizes space and functionality.
Popular Layout Types
- Three-piece layout (sink, toilet, shower/tub) — ideal for standard bathrooms.
- Wet room layout — open shower space with floor drain.
- Jack-and-Jill bathroom — shared access between bedrooms.
- Compact layout — space-saving fixtures for small bathrooms.
Design Tips
- Keep the toilet out of direct sight from the door.
- Place the vanity near natural light for better mirror use.
- Consider floating vanities to create the illusion of space.
Use design tools like SketchUp or Roomstyler 3D Home Planner to visualize your space.
4. Choosing the Right Materials
Selecting durable, moisture-resistant materials ensures longevity.
| Material | Recommended For | Notes |
|---|---|---|
| Porcelain Tile | Floors & walls | Durable, water-resistant |
| Vinyl Flooring | Budget remodels | Easy to install, waterproof |
| Quartz Countertop | Vanity tops | Non-porous and low maintenance |
| Cement Board | Behind tiles | Prevents mold and rot |
| Acrylic or Fiberglass | Bathtubs | Affordable and easy to clean |
Eco-friendly options: bamboo vanities, recycled glass tiles, and low-VOC paints.
5. Plumbing and Electrical Upgrades
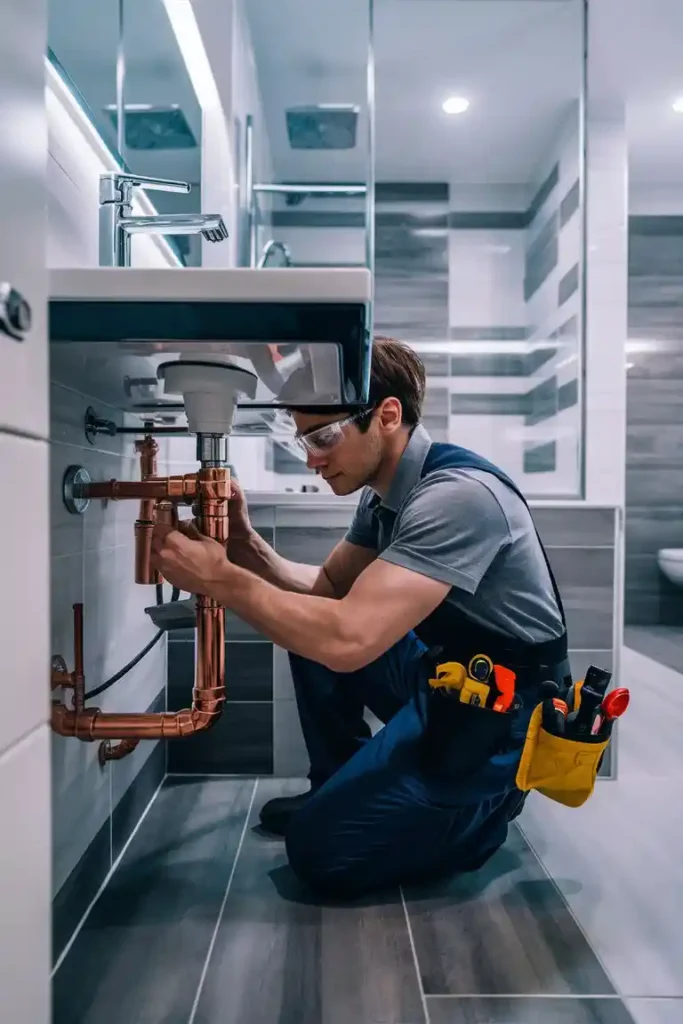
Before installing your new fixtures, review your plumbing and wiring.
Plumbing
- Replace old galvanized pipes with PEX or copper.
- Add shutoff valves for each fixture.
- Ensure adequate water pressure (40–60 PSI).
Electrical
- Use GFCI outlets to prevent electric shocks.
- Upgrade lighting circuits for new LED fixtures.
- Consider installing heated floors for comfort.
Hire licensed professionals for safety and code compliance.
6. Demolition and Preparation
DIY Demolition Steps
- Turn off water and power.
- Remove fixtures and accessories.
- Pull up flooring carefully to avoid subfloor damage.
- Dispose of debris properly.
Safety Gear: gloves, goggles, dust mask, and ear protection.
If mold or asbestos is found, stop immediately and call specialists.
7. Installing New Fixtures
Now comes the exciting part — installing your new features.
Key Installations
- Bathtub or shower: Install first; seal joints properly.
- Toilet: Use a wax ring to ensure a tight seal.
- Vanity & sink: Align plumbing and use silicone caulking.
- Lighting & mirrors: Position over the sink for even light.
Pro Tip: Always test water flow and drainage before sealing walls or floors.
8. Flooring and Wall Finishes
Flooring Options
- Porcelain or ceramic tile: Durable and waterproof.
- Luxury vinyl plank (LVP): Looks like wood but resists moisture.
- Natural stone: Beautiful but requires sealing.
Wall Ideas
- Large-format tiles create a seamless look.
- Accent walls with mosaic or hex tiles add luxury.
- Waterproof paint or panels for low-cost updates.
Seal grout lines to prevent mold growth.
9. Lighting and Ventilation
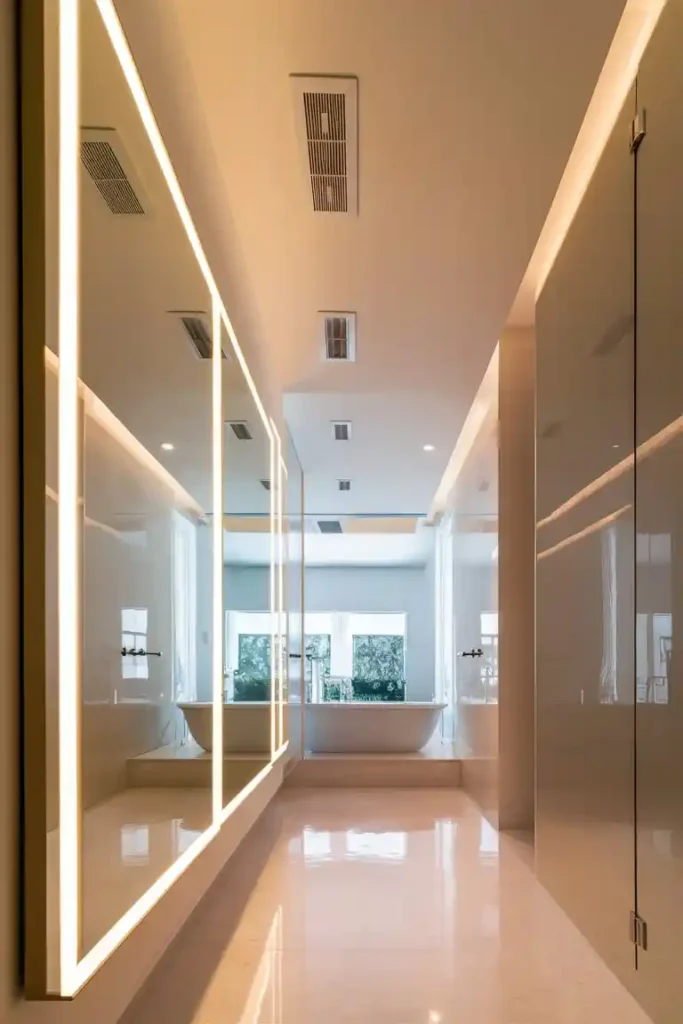
Lighting impacts both aesthetics and usability.
Best Lighting Layers
- Ambient: Ceiling lights or recessed LEDs.
- Task: Vanity lights for grooming.
- Accent: Wall sconces or strip LEDs for effect.
Ventilation
Install a high-quality exhaust fan (rated for CFM based on room size) to prevent humidity buildup and mold.
10. Final Touches: Storage, Decor & Accessories
Once major installations are complete, focus on details.
Storage Ideas
- Floating shelves above the toilet.
- Recessed niches in shower walls.
- Over-the-door or vanity drawers for small items.
Decor Tips
- Use mirrors to make the space feel larger.
- Choose a cohesive color palette — neutrals, whites, or bold contrasts.
- Add plants that thrive in humidity (like peace lilies or ferns).
11. Cost Breakdown Example (Mid-Range Remodel)
| Category | Estimated Cost (USD) |
|---|---|
| Demolition | $1,000 |
| Plumbing & Electrical | $3,000 |
| Fixtures & Fittings | $4,500 |
| Flooring & Tile | $2,000 |
| Vanity & Countertop | $1,500 |
| Paint & Accessories | $500 |
| Labor | $6,000 |
| Total | $18,500 |
(Costs vary by region and quality of materials.)
12. DIY vs. Hiring a Contractor
DIY Remodel Pros
- Lower cost
- Full control over materials and schedule
DIY Remodel Cons
- Time-consuming
- Mistakes can be costly (especially plumbing/electrical)
Hiring a Contractor
- Professional finish
- Faster timeline
- Permits handled correctly
Tip: Get at least three quotes and check online reviews before hiring.
13. Bathroom Remodel Mistakes to Avoid
- Ignoring waterproofing — leads to costly leaks.
- Poor ventilation — causes mold buildup.
- Inadequate lighting — dark, gloomy result.
- Choosing cheap fixtures — low lifespan.
- Not setting a contingency budget.
14. Maintenance After Remodeling
Keep your remodeled bathroom in top shape:
- Clean grout and tiles regularly.
- Use mild cleaners (avoid bleach).
- Check caulking every 6 months.
- Inspect for leaks around fixtures.
15. Conclusion
A bathroom remodel is a significant investment, but with careful planning and execution, it can completely transform your daily routine and add lasting value to your home. Whether you go full DIY or hire professionals, following a structured plan ensures your project stays on budget, on time, and delivers a beautiful, functional result.
1 thought on “Bathroom Remodel: The Complete Step-by-Step Guide to Planning, Budgeting, and Building Your Dream Bathroom”