
Tools for Plaster Wall Repair
When it comes to repairing plaster walls, having the right tools is essential for achieving a smooth, long-lasting finish. Using the proper tools not only makes the job easier but also ensures the repair is done professionally. In this guide, we’ll walk you through the must-have tools for plaster wall repair and how to use them effectively.
Table of Contents
Why Using the Right Tools Matters
Plaster wall repair can be tricky without the proper equipment. Poor-quality tools or incorrect techniques can lead to subpar repairs that may not hold up in the long run. The right tools ensure that your plaster repairs are smooth, well-applied, and durable, giving your walls a polished finish.
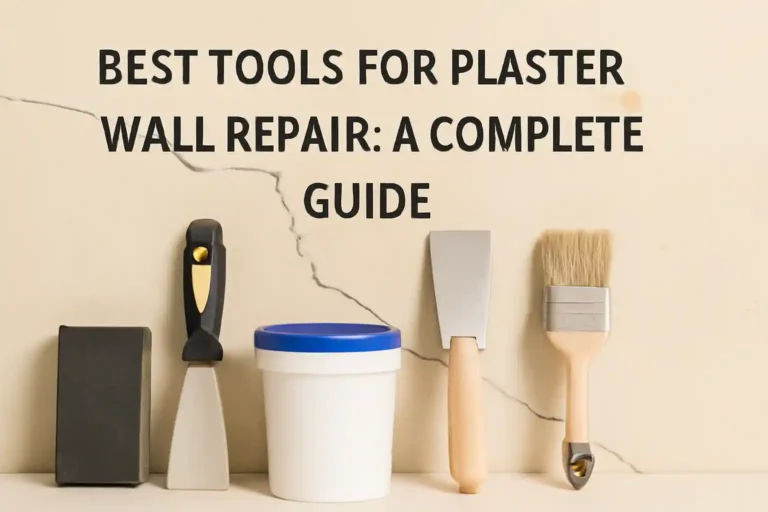
Essential Tools for Plaster Wall Repair
- Putty Knife or Plaster Knife
- Purpose: The putty knife or plaster knife is the most important tool when repairing cracks or holes in plaster walls. It’s used to apply patching compound and smooth out the surface.
- Tips: Choose a knife with a flexible blade for easier maneuvering. A 6- to 8-inch blade is ideal for most repair jobs.
- Plaster Patch or Joint Compound
- Purpose: Plaster patching compound is used to fill in cracks, holes, and damaged areas. Joint compound (drywall mud) is also a suitable alternative for smaller repairs.
- Tips: For large holes, use a thicker compound, and for smaller cracks, a lightweight compound will suffice.
- Taping Knife
- Purpose: A taping knife is used for smoothing out the patching compound after it’s been applied to the wall.
- Tips: For best results, use a taping knife that’s wider than the area being repaired to create a seamless, smooth finish.
- Sanding Block or Sandpaper
- Purpose: After the patching compound has dried, you’ll need to sand the surface to ensure it’s smooth and even with the rest of the wall.
- Tips: Use a fine-grit sandpaper (220-grit) for a smoother finish. Always sand in circular motions to avoid scratches.
- Spackling or Caulk Gun
- Purpose: For smaller cracks or holes, spackling paste or caulk can be used to fill in the gaps before smoothing.
- Tips: Ensure that the spackling is well-smeared into the crack before smoothing over with the putty knife.
- Paint and Primer
- Purpose: After completing the repair, you’ll need to paint the patched areas to blend them with the rest of the wall. Primer helps ensure that the paint sticks and the repaired area looks seamless.
- Tips: Use the same type of paint that was originally on the wall to achieve the best match. Apply a coat of primer before painting for better adhesion.
- Plaster Mixing Bowl or Container
- Purpose: If you’re using powder-based plaster or joint compound, you’ll need a mixing container to combine the plaster with water.
- Tips: Always mix small batches at a time, as plaster dries quickly. Make sure to follow the manufacturer’s instructions for the proper water-to-plaster ratio.
Optional Tools for Larger Jobs
For larger or more complex plaster repairs, you may want to invest in these additional tools:
- Mesh Tape: Used to reinforce the plaster and ensure the compound sticks better, especially for larger cracks.
- Spray Bottle: To lightly mist the repaired areas before applying the compound for better adhesion.
- Wall Scraper: For cleaning off excess plaster and smoothing the edges of the repair.
How to Choose the Best Tools
When selecting tools for plaster wall repair, consider:
- Quality: High-quality tools will make the job easier and more effective. Avoid cheap plastic knives or low-grade compounds.
- Size: Choose tools that are appropriately sized for the area you’re working on. Smaller tools for small cracks, and larger ones for more extensive repairs.
- Durability: Plaster repair tools should be durable and long-lasting. Look for metal knives, high-grade compound, and sturdy sanding blocks.
Conclusion
Having the right tools for plaster wall repair is crucial for achieving professional results. Whether you’re fixing small cracks or larger holes, the tools mentioned above will help you get the job done efficiently. Don’t forget to invest in quality materials and take your time for a flawless finish.
By equipping yourself with the best tools and techniques, you’ll ensure your plaster wall repairs are durable, smooth, and seamlessly integrated into your home’s decor.