
DIY vintage wall decor projects
Are you looking to add a personal touch to your home decor? This guide will walk you through the process of creating your own vintage-style wall art, from crafting reclaimed wood frames to designing vintage-inspired posters. Whether you’re a seasoned DIY enthusiast or a beginner, these DIY vintage wall decor projects will help you transform your space into a stylish, one-of-a-kind haven. Let’s dive into how to make vintage wall art that will bring timeless charm to your walls.
Table of Contents
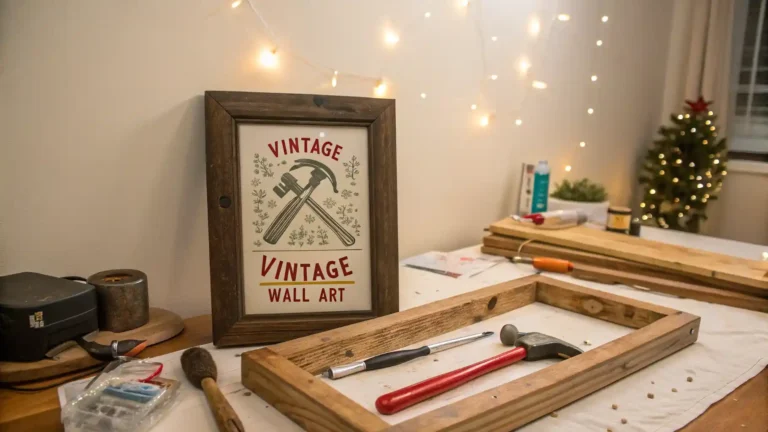
1. Crafting Your Own Reclaimed Wood Frame
One of the easiest and most cost-effective ways to create your own vintage wall art is by using reclaimed wood to make rustic frames. Not only does this project bring vintage charm, but it’s also an environmentally friendly way to repurpose materials.
Materials:
- Reclaimed wood (old pallets or discarded furniture)
- Sandpaper
- Nails or screws
- Hammer or drill
- Wood glue (optional)
- Vintage fabric, old postcards, or artwork for framing
Steps:
- Cut the Wood: Measure and cut the reclaimed wood to fit your desired frame size.
- Sand the Wood: Smooth the edges and surface of the wood to prevent splinters and achieve a distressed look.
- Assemble the Frame: Attach the pieces of wood together using nails or screws.
- Insert Your Art: Choose a piece of vintage fabric, a postcard, or an old photo and place it inside the frame.
- Hang and Enjoy: Use picture hooks or nails to hang your custom vintage wall art.
Pro Tip: If you prefer a more worn look, use a wire brush to distress the wood further, adding even more vintage charm.
2. Creating Vintage-Inspired Posters
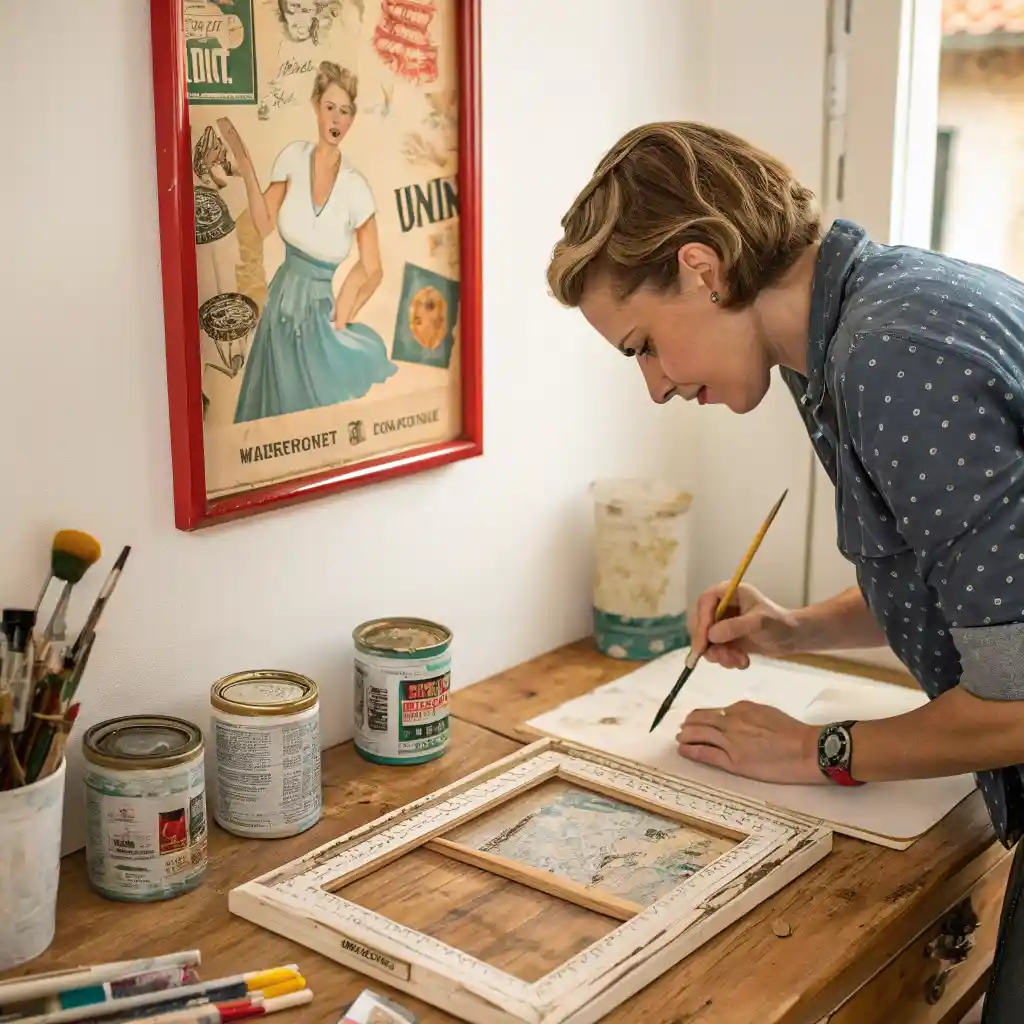
If you’re a fan of vintage posters but want to create your own, this DIY project is perfect for you. Vintage wall decor ideas DIY can be made by designing your own prints that reflect classic advertisements, travel posters, or retro designs.
Materials:
- Canvas or thick paper
- Printer (or paint supplies if you’re hand-painting)
- Digital design software (optional, for custom designs)
- Frames or clipboards for display
Steps:
- Choose a Design: Research vintage poster designs from the 1940s or 1950s for inspiration.
- Create Your Poster: Using design software or by hand-painting, recreate the elements of a vintage poster, like bold typography and classic images.
- Print and Prepare: Print your design on canvas or heavy-duty paper. If you’re painting, use acrylic paints for a true vintage feel.
- Frame Your Poster: Frame your poster in a distressed wooden frame to add authenticity.
Pro Tip: Consider printing your design in sepia or faded colors for a more authentic vintage look.
3. Using Old Mirrors as Wall Art
Old mirrors are a great way to add a vintage touch to your walls. This DIY project involves turning an antique mirror into a striking piece of wall art, blending functionality with style.
Materials:
- Old mirror (thrift store finds work great)
- Decorative frame or molding
- Paint (optional, for distressed finish)
- Wall hooks
Steps:
- Find an Old Mirror: Search flea markets or thrift stores for old mirrors with character.
- Frame the Mirror: If the mirror isn’t already framed, you can create a simple wooden frame and paint it with a distressed finish.
- Add Decorative Touches: Use stencils or small trinkets to decorate the frame, or leave it simple for a more minimalist look.
- Hang on the Wall: Attach wall hooks and place your new vintage wall art in the perfect spot.
Pro Tip: If you have multiple mirrors, you can create a stunning gallery wall with a collection of vintage mirrors.
4. Making a Distressed Metal Sign
If you’re looking to create something with a more industrial vintage feel, consider making a distressed metal sign for your wall. These pieces can add character to any space, from kitchens to living rooms.
Materials:
- Sheet metal (or thin aluminum)
- Rust-effect spray paint
- Stencils for letters and designs
- Clear matte finish spray (for sealing)
Steps:
- Prepare the Metal: Cut the metal sheet to your desired size.
- Apply Base Coat: Spray the sheet metal with a primer and allow it to dry.
- Add Design: Use stencils to paint vintage lettering or graphic designs. Popular choices include old advertising slogans or retro logos.
- Distress the Metal: Apply rust-effect spray around the edges to give it an aged, weathered look.
- Seal and Display: Once your sign is dry, seal it with a clear matte spray to protect the finish, and hang it on your wall.
Pro Tip: Consider using this project for fun DIY messages like “Café,” “Bar,” or “Vintage Garage” for a true retro vibe.
5. Framing Vintage Sheet Music or Postcards
A simple yet beautiful way to incorporate vintage elements into your wall decor is by framing vintage sheet music, old postcards, or classic newspaper clippings. This DIY project is an easy way to showcase the charm of old-fashioned paper items.
Materials:
- Vintage sheet music or postcards
- Frames
- Matte backing (optional)
Steps:
- Select Your Pieces: Choose sheet music or postcards with interesting typography or nostalgic images.
- Frame the Items: Frame the sheet music or postcards in simple, elegant frames to keep the vintage feel.
- Display: Arrange multiple frames in a row or create a grid for a stylish wall arrangement.
Pro Tip: For a more authentic vintage touch, choose items from specific time periods, such as the 1920s or 1940s, to match the era of your home’s design.
Conclusion
Creating your own DIY vintage wall decor projects not only allows you to personalize your home, but it also brings a timeless charm to any room. Whether you’re crafting reclaimed wood frames, making vintage-inspired posters, or upcycling old items into stylish artwork, these DIY vintage wall art ideas will help you create a space that reflects your unique style. Take the time to explore these projects and see how easy it is to add a touch of vintage flair to your walls.