
In today’s interior design landscape, plaster wall textures are experiencing a remarkable resurgence. Homeowners and designers alike are rediscovering the timeless appeal and versatility of textured plaster as an alternative to flat, uninspiring wall finishes. This comprehensive guide explores everything you need to know about plaster wall textures – from traditional techniques to modern applications and DIY approaches that can transform your living spaces.
Table of Contents
What Are Plaster Wall Textures?
Plaster wall textures refer to decorative finishes created by applying plaster material to walls in various patterns and techniques to achieve different visual and tactile effects. Unlike standard painted drywall, textured plaster walls add depth, character, and a sense of craftsmanship to any space.
Historically, plaster has been used for centuries as a premium wall finishing technique, adorning palaces, villas, and stately homes across cultures. Today’s plaster wall textures combine this rich heritage with modern materials and application methods, making them accessible for contemporary homes.
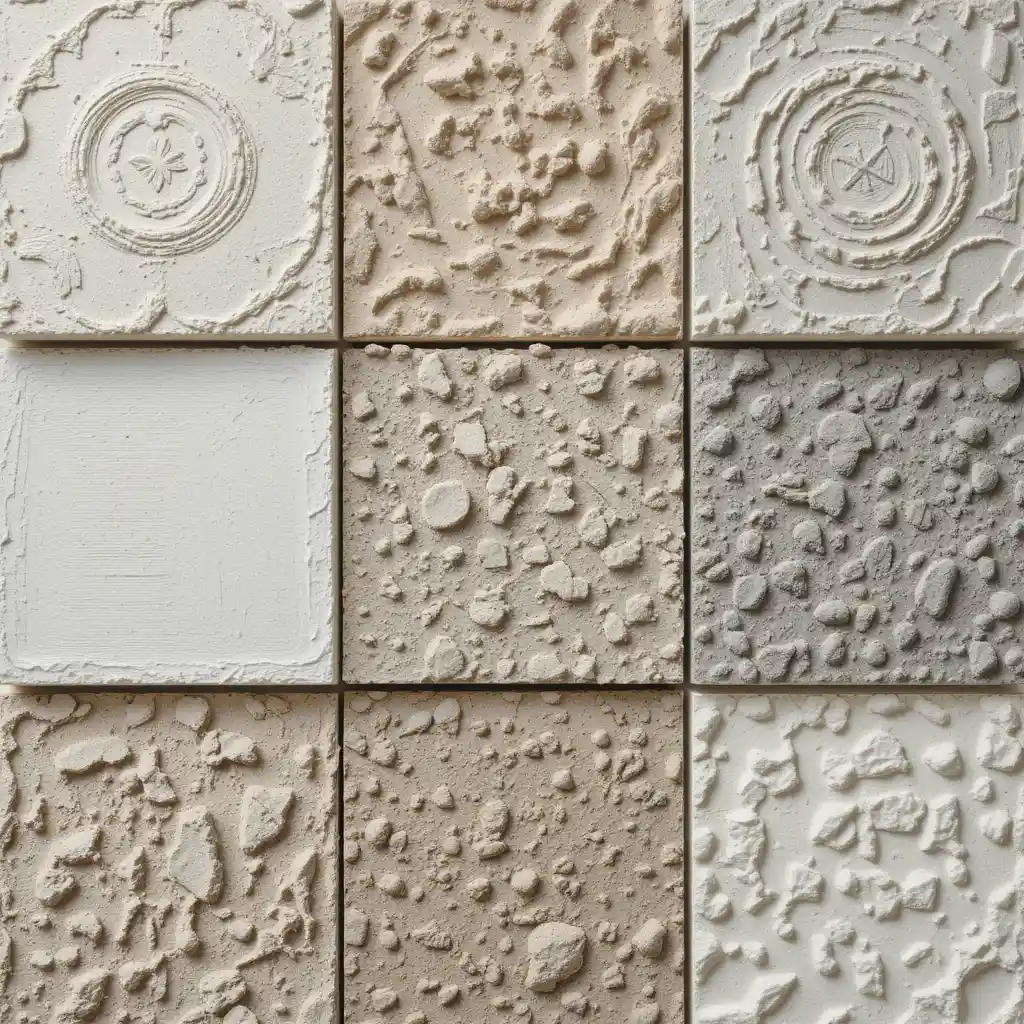
The primary materials used in modern plaster wall textures include:
- Gypsum plaster: Fast-setting and versatile
- Lime plaster: Breathable and traditional
- Cement plaster: Durable and often used for exterior applications
- Clay plaster: Eco-friendly and natural
Each material offers distinct properties that influence the final texture, durability, and aesthetic appeal of your walls.
Popular Plaster Wall Texture Styles
Venetian Plaster Texture
Venetian plaster remains one of the most sought-after texture styles, characterized by its smooth, polished surface with subtle depth and variation. This centuries-old Italian technique involves applying multiple thin layers of plaster containing marble dust, which is then burnished to create a luminous, stone-like finish.
Key characteristics:
- Multi-dimensional appearance with visual depth
- Can range from high-gloss to matte finishes
- Often includes subtle color variations within the same wall
- Creates an elegant, luxurious atmosphere
Mediterranean and Tuscan Plaster Finishes
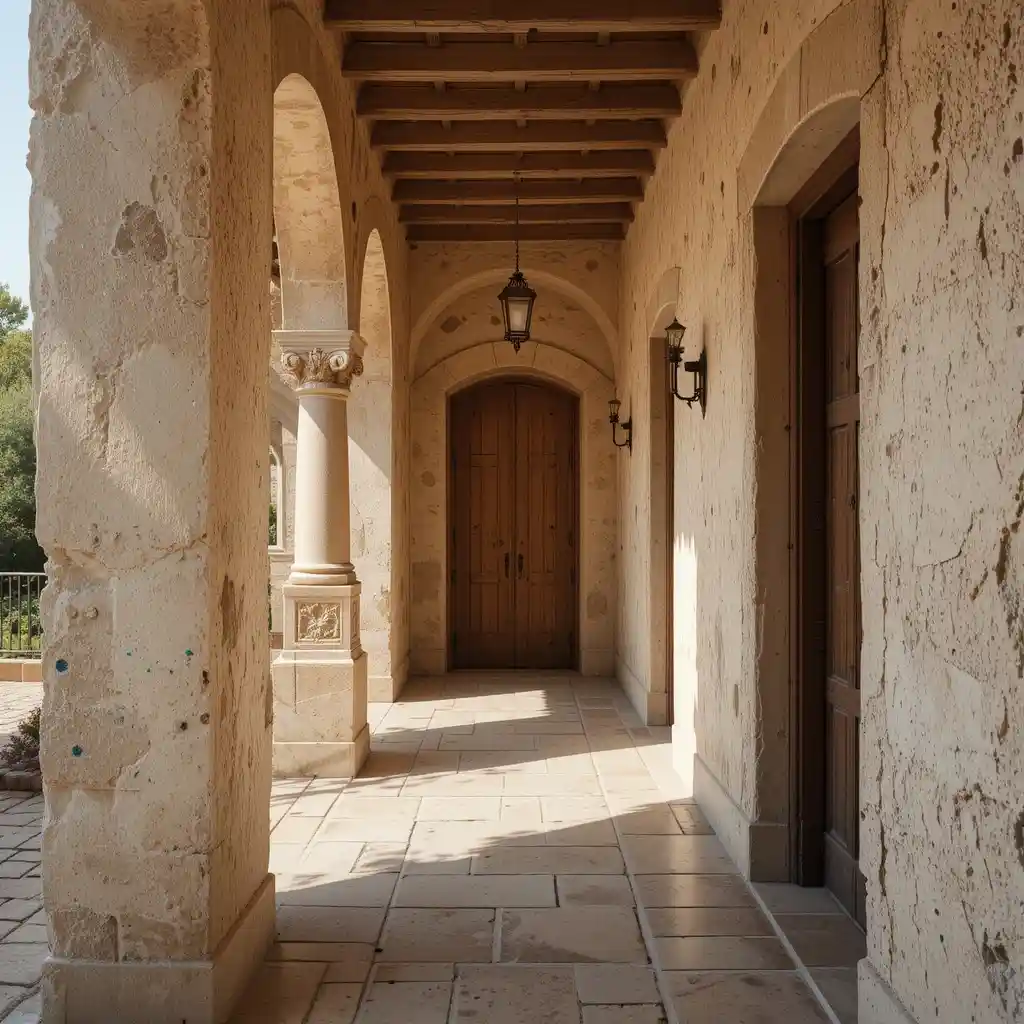
These rustic, earthy textures evoke the sun-drenched walls of Mediterranean villas and Tuscan farmhouses. Typically achieved through hand-troweled application techniques, these styles feature subtle irregularities and a warm, tactile quality.
Popular variations:
- Rustic textured plaster with visible trowel marks
- Distressed finishes that mimic centuries of wear
- Warm earth tones that complement natural materials
- Often combined with exposed beams or stone elements
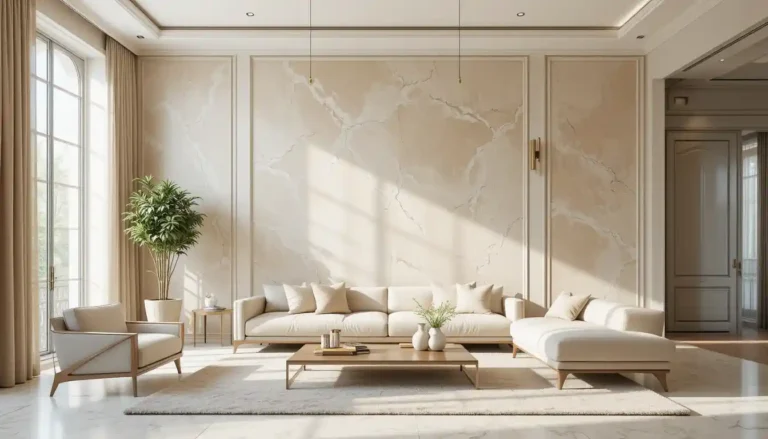
Modern Minimalist Plaster Textures
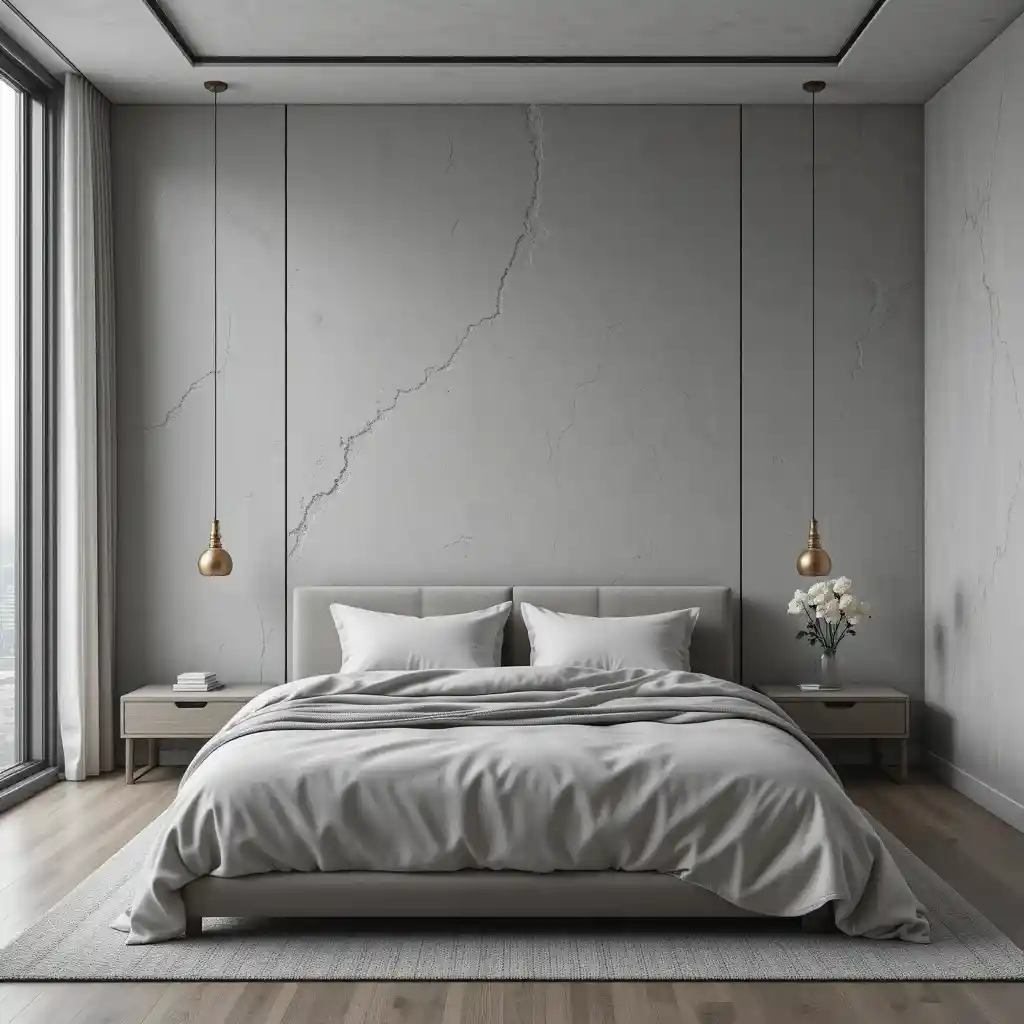
Contemporary design has embraced smoother, more subtle plaster textures that add interest without overwhelming the space. These finishes often feature:
- Gentle, almost imperceptible texture variations
- Monochromatic or neutral color palettes
- Seamless transitions between walls and ceilings
- Clean lines that complement modern furniture and décor
Artisan Plaster Textures
For those seeking truly unique walls, artisan plaster textures offer unlimited creative possibilities. These techniques often involve:
- Hand-sculpted patterns and motifs
- Custom mixtures incorporating various aggregates
- Specialized application methods creating one-of-a-kind results
- Artistic expression through texture, depth, and color variation
DIY Guide: How to Apply Plaster Wall Texture
Creating your own plaster wall texture is an achievable DIY project with the right preparation and tools. Here’s a step-by-step approach:
Essential Tools for Plaster Texture Application
Before beginning, gather these necessary tools:
- Trowels in various sizes (rectangular and curved)
- Hawk or hand board for holding plaster
- Mixing buckets and drill mixer attachment
- Sandpaper (various grits)
- Plastic sheets and painter’s tape for protection
- Primer appropriate for plaster application
- Quality brushes and rollers
Step-by-Step Application Process
- Prepare the surface: Ensure walls are clean, dry, and free of imperfections. Apply an appropriate primer and allow it to dry completely.
- Mix the plaster: Follow manufacturer instructions precisely, as different plaster types require specific water-to-powder ratios. Mix thoroughly until achieving a smooth, lump-free consistency.
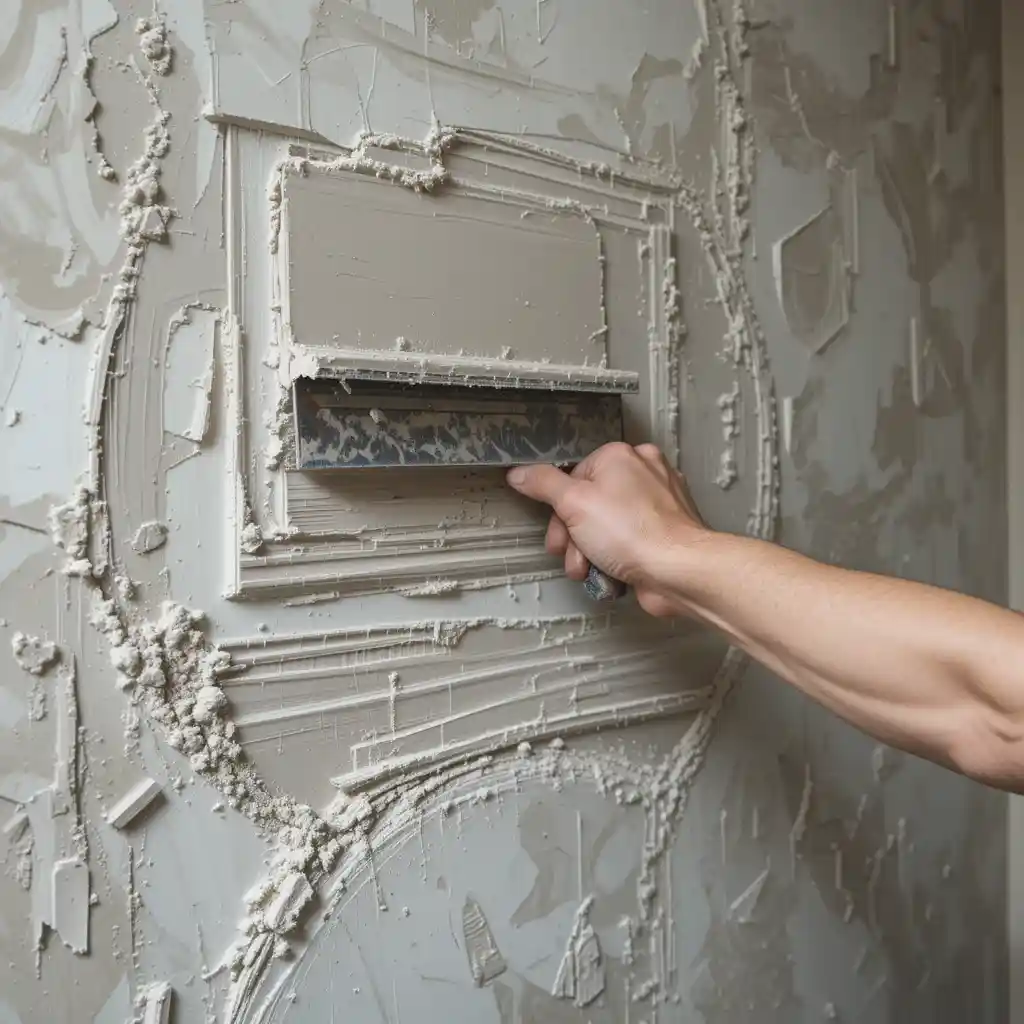
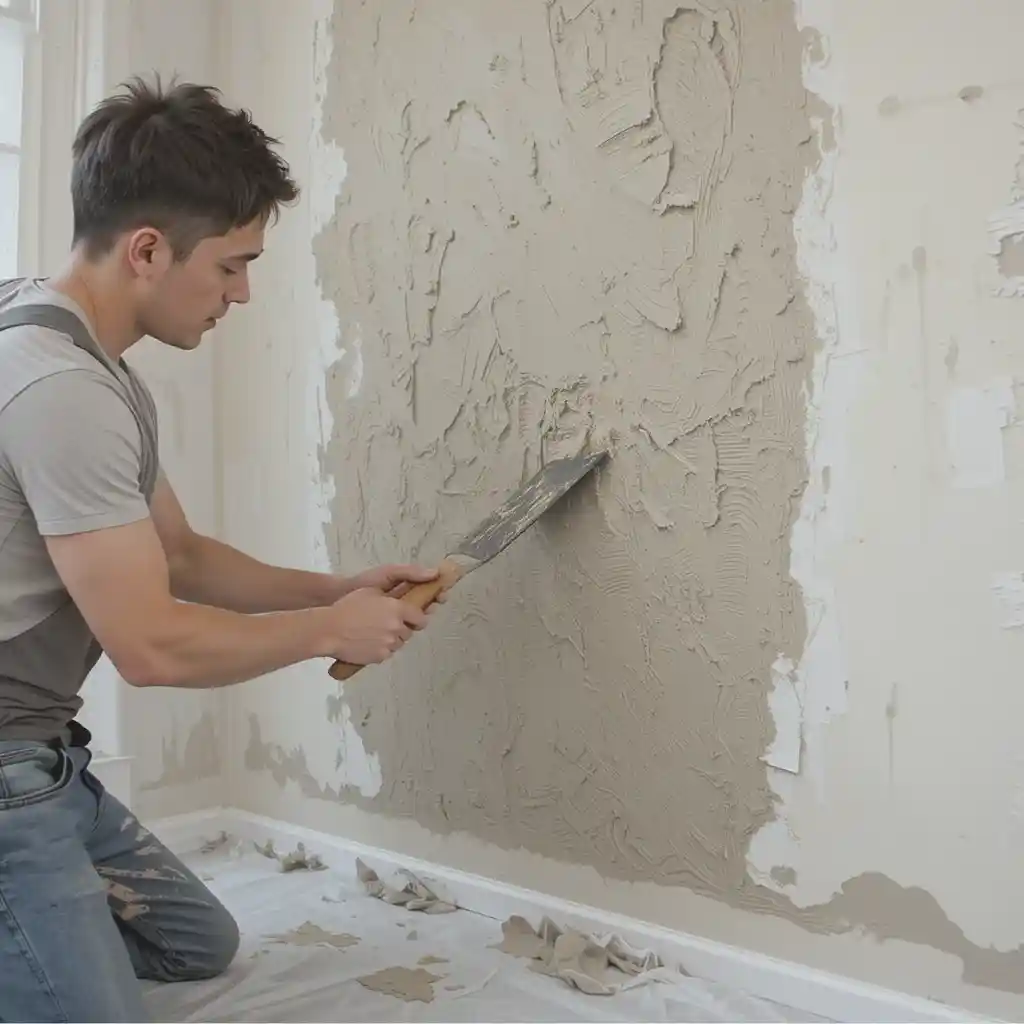
- Apply the base coat: Using a large trowel, spread a thin layer of plaster across the wall. This initial coat creates adhesion and begins building your texture foundation.
- Create your texture: Depending on your desired finish, use various techniques:
- For skip trowel texture: Apply plaster in an irregular pattern, skipping areas
- For smooth Venetian finish: Apply multiple thin layers, burnishing between coats
- For rustic texture: Use a trowel to create intentional ridges and variations
- Allow proper drying time: Most plaster requires 24-48 hours between coats. Rushing this process can compromise the final result.
- Finishing touches: Once your final texture layer has partially dried (still slightly damp), use appropriate tools to achieve your desired finish—burnishing with a trowel for shine or light sanding for a matte appearance.
- Seal if necessary: Some plaster finishes benefit from a protective sealer, especially in moisture-prone areas.
Common Mistakes to Avoid
- Applying too thick: Plaster works best in thin, multiple layers rather than single thick applications
- Inconsistent mixing: Follow manufacturer instructions exactly for proper consistency
- Rushing between coats: Allow complete drying between layers
- Poor surface preparation: Skipping proper priming can lead to adhesion problems
- Inconsistent technique: Maintain similar pressure and application method across the entire wall
Maintaining and Repairing Textured Plaster Walls
Properly maintained plaster wall textures can last for decades. Here’s how to care for and repair them:
Cleaning and Maintenance
- Dust regularly using a soft cloth or vacuum with brush attachment
- Clean scuffs with a damp cloth and mild soap solution
- Avoid harsh chemical cleaners that may damage the finish
- Address minor issues immediately before they worsen
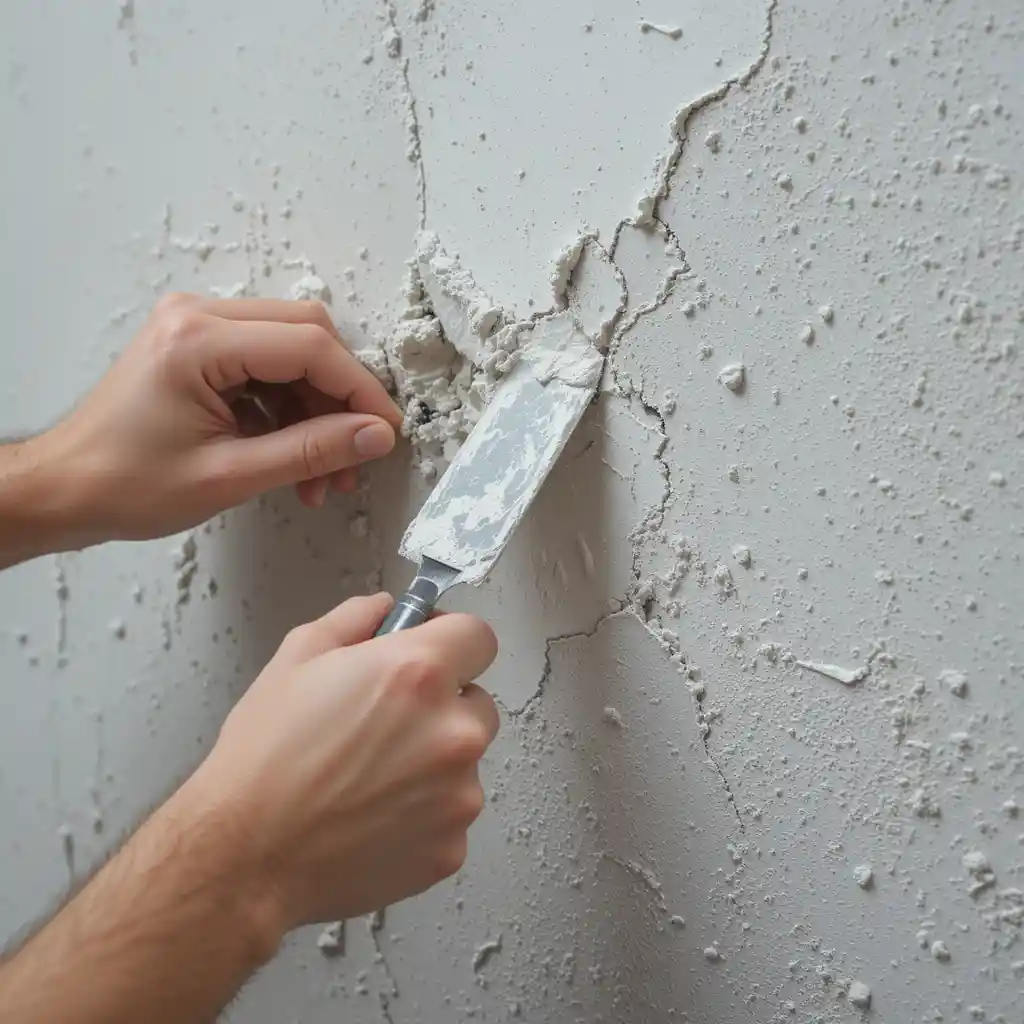
Repairing Cracks and Damage
Small cracks in plaster walls often appear as the material ages or the building settles. For minor repairs:
- Clean the damaged area, removing loose material
- Apply appropriate plaster patch material using a small trowel
- Feather the edges to blend with existing texture
- Match the original finish technique once the patch has dried
- Touch up with paint or pigment if necessary
For significant damage or structural issues, professional assessment is recommended. Signs you should call a professional include:
- Large cracks wider than 1/4 inch
- Bulging or sagging plaster
- Water damage affecting large areas
- Historic preservation requirements
Design Inspiration: Incorporating Plaster Textures in Your Home
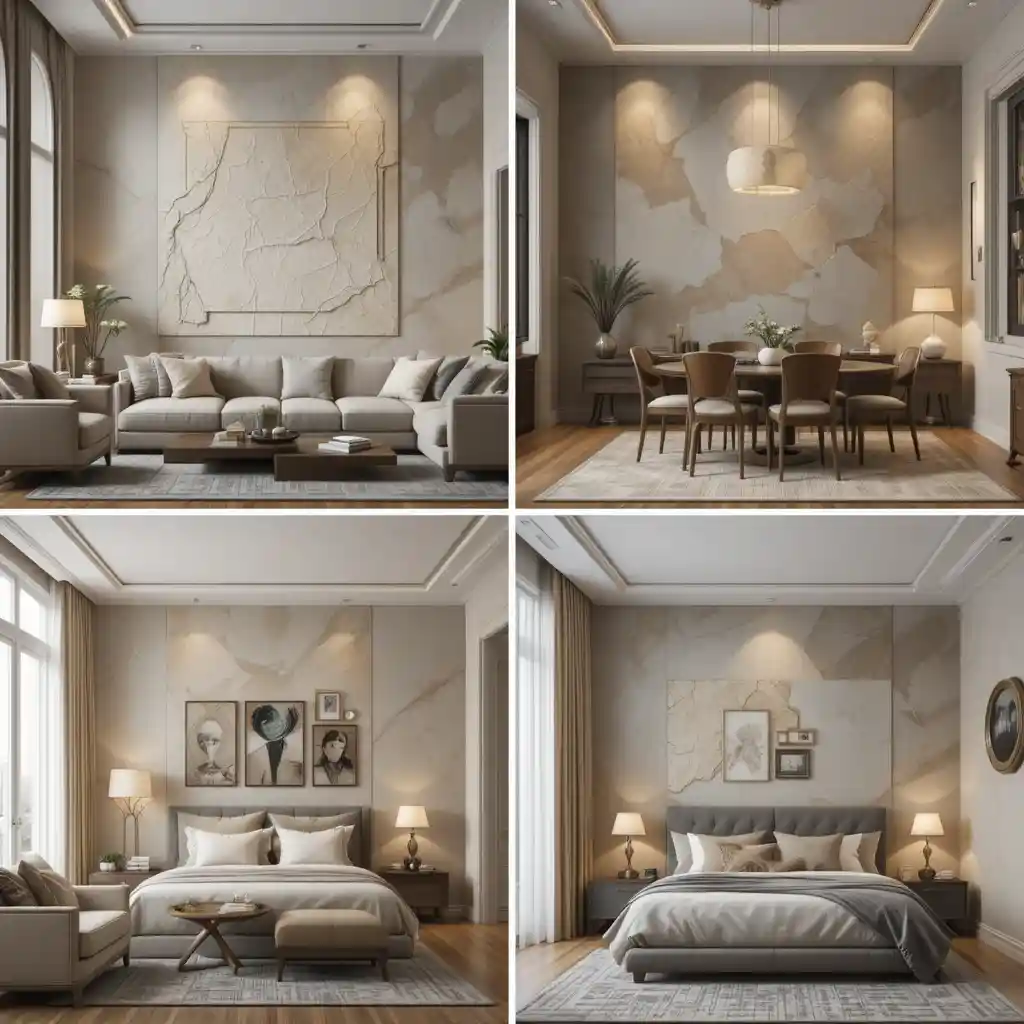
Best Rooms for Textured Plaster Walls
While plaster textures can work in any space, they particularly excel in:
- Living rooms: Create a sophisticated focal point behind furniture
- Dining rooms: Add warmth and ambiance for entertaining
- Entryways: Make a striking first impression
- Bedrooms: Develop a serene, tactile environment
- Accent walls: Highlight architectural features or create visual interest
Color Palettes that Complement Plaster Textures
Plaster textures shine when paired with thoughtful color choices:
- Earth tones: Terracotta, ochre, and warm neutrals enhance Mediterranean styles
- Cool neutrals: Grays, taupes, and soft whites complement contemporary textures
- Muted pastels: Subtle color washes add dimension while maintaining sophistication
- Metallic accents: Gold or silver pigments can be incorporated for subtle shimmer
Combining with Different Interior Styles
Plaster textures are remarkably versatile across design aesthetics:
- Modern interiors: Smooth, subtle textures provide warmth without competing with clean lines
- Traditional spaces: Rich, dimensional textures reinforce classic architectural elements
- Bohemian settings: Rustic, irregular textures complement eclectic furnishings
- Minimalist designs: Monochromatic textured walls add interest without visual clutter
Eco-Friendly Options for Plaster Wall Textures
Natural Plaster Materials
Environmentally conscious homeowners can choose from several sustainable plaster options:
- Clay plaster: Made from natural clay, sand, and plant fibers
- Lime plaster: Created from limestone, highly breathable and naturally resistant to mold
- Tadelakt: Traditional Moroccan lime plaster finished with olive oil soap
- Earth plasters: Regional variations using local soils and natural pigments
These materials offer significant environmental benefits:
- Zero or low VOCs (volatile organic compounds)
- Natural moisture regulation properties
- Often sourced from local, renewable materials
- Biodegradable at end of life cycle
- Contribute to improved indoor air quality
Cost Analysis: Plaster Wall Textures vs. Alternatives
Understanding the financial implications helps in planning your wall texture project:
DIY vs. Professional Installation
DIY Plaster Wall Texture:
- Materials: $2-8 per square foot depending on plaster type
- Tools: $100-300 initial investment
- Time investment: Significant for first-time applicators
- Learning curve: Moderate to steep depending on desired finish
Professional Installation:
- Average cost: $7-15 per square foot for standard finishes
- Specialty finishes like Venetian plaster: $15-30 per square foot
- Custom artistic finishes: $30-50+ per square foot
- Includes labor, materials, and expertise
Long-term Value Considerations
While the initial investment may exceed standard wall treatments, textured plaster walls offer substantial long-term benefits:
- Extended lifespan compared to wallpaper or paint
- Increased property value, especially with high-end finishes
- Reduced need for frequent redecorating
- Potential energy efficiency improvements through thermal mass (especially with thick lime or clay plasters)
FAQ: Everything You Need to Know About Plaster Wall Textures
What is the difference between plaster and drywall textures?
Plaster textures are created using actual plaster materials (gypsum, lime, etc.) applied in layers by hand, resulting in deeper, more authentic finishes. Drywall texturing typically involves applying joint compound over drywall sheets, creating a more uniform, less dimensional effect. Plaster typically offers greater durability, aesthetic depth, and customization possibilities.
How long does plaster wall texture take to dry?
Drying times vary significantly based on plaster type, application thickness, and environmental conditions. Generally:
-Initial set: 1-2 hours
-Surface dry: 24 hours
-Fully cured: 7-30 days
Proper ventilation and maintaining moderate humidity levels speed the drying process. Complete curing is essential before applying sealers or paint.
Can I paint over textured plaster walls?
Yes, textured plaster walls can be painted, but considerations include:
-Allow full curing time before painting (minimum 7 days, ideally 30)
-Choose breathable paint formulations, especially for lime plaster
-Test in an inconspicuous area, as some plasters may affect paint adhesion
-Consider using tinted plaster instead for a more integrated look
How do I repair cracks in plaster walls?
For small cracks:
1-Clean the crack and remove loose material
2-Apply an appropriate patching plaster with a small trowel
3-Match the surrounding texture while the patch is still workable
4-Allow to dry completely before painting or sealing
Larger cracks may indicate structural issues requiring professional assessment.
What causes discoloration on plaster walls and how do I fix it?
Discoloration typically results from:
-Water damage (creating dark spots)
-Mold or mildew growth (usually black or green)
-Efflorescence (white crystalline deposits)
-Staining from adjacent materials
Fixing discoloration involves addressing the root cause (water intrusion, etc.), cleaning the affected area, applying a stain-blocking primer, and then retexturing or repainting as needed.
Conclusion
Plaster wall textures offer a timeless, versatile approach to interior design that transcends trends. Whether you’re seeking the Old World charm of Venetian plaster, the earthy appeal of Mediterranean textures, or the subtle sophistication of modern finishes, textured plaster walls provide depth and character unmatched by conventional wall treatments.
The resurgence of interest in artisanal building techniques has made plaster textures more accessible than ever, with options ranging from DIY applications to high-end professional finishes. By understanding the materials, techniques, and maintenance requirements, you can make informed decisions about incorporating these beautiful textures into your home.
Whether you’re renovating a historic property or building a contemporary space, consider how the rich, tactile quality of plaster wall textures might transform your environment, adding value and visual interest that will be appreciated for years to come.