
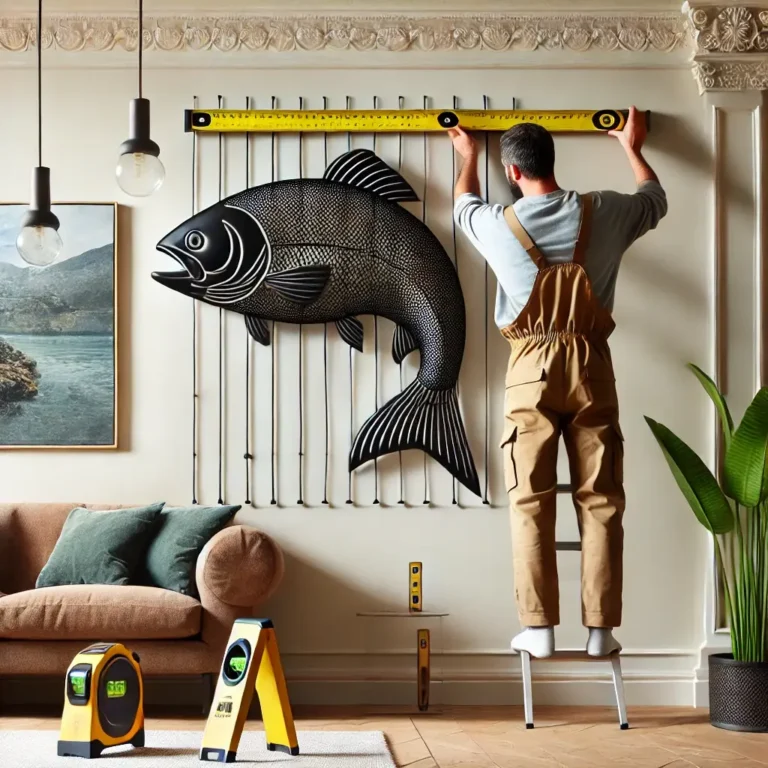
You’ve discovered a stunning metal sculpture or a contemporary metal wall panel that speaks to your style—and now you’re eager to showcase it. But without the right technique, your investment can slip off, leave unsightly holes, or fail to become the eye‑catching centerpiece it deserves to be. In this guide, you’ll learn exactly how to hang metal wall art securely and stylishly. From choosing the perfect hardware to advanced tips for heavy pieces, you’ll transform blank walls into gallery‑worthy displays.
Table of Contents
Why Properly Hanging Metal Wall Art Matters
When you hang metal wall art correctly, you don’t just fill empty space—you inject personality and texture. A well‑mounted piece:
- Draws the eye to a focal point in your room
- Creates depth with shadows and light reflections
- Reinforces your chosen aesthetic, whether industrial, minimalist, or organic
Safety & Durability
Metal wall art can be surprisingly heavy. If you skip proper wall anchors or ignore weight limits, you risk:
- Sudden falls that dent furniture or injure someone
- Cracked drywall or plaster that require costly repairs
- Warped or bent artwork from uneven stress
By selecting the right hanging method, you’ll ensure your metal art stays steadfast for years, letting you enjoy its beauty without worry.
Tools & Hardware You’ll Need
Before you begin, gather these essentials tailored to metal wall art installation:
- Stud finder: locates solid framing behind drywall
- Tape measure & pencil: marks exact placement
- Bubble level: ensures your piece hangs perfectly straight
- Power drill + masonry bits: for holes in brick or concrete
- Wall anchors (plastic, toggle bolts, masonry anchors): support various weights
- Screws, bolts & picture hooks: depending on anchor type
- French cleats or D‑rings: for large, heavy panels
- Command strips or heavy‑duty Velcro: damage‑free option for lightweight pieces
- Work gloves & safety glasses: protect hands and eyes during installation
Having the right hardware on hand will streamline the process and prevent last‑minute trips to the hardware store.
Choosing the Right Method for Your Wall Type
- Overcrowding: too many pieces compete for attention.
- Wrong hardware: ignoring weight ratings leads to failures.
- Skipping the level: even a 1° tilt is noticeable.
- Improper placement: hanging at knee height or too close to the ceiling looks awkward.
Drywall Installations
On‑Stud Mounting
- Use your stud finder to mark a stud location.
- Drill a pilot hole and insert a wood screw directly into the stud.
- Hang your D‑ring or cleat‑equipped art piece on the screw.
- Pros: Maximum strength; ideal for pieces over 20 lbs
- Cons: Limited placement to stud locations
- Pros: Maximum strength; ideal for pieces over 20 lbs
No‑Stud Options
- Plastic anchors: up to 25 lbs
- Toggle bolts: up to 50 lbs
- Command strips: up to 16 lbs (damage‑free)
- Insert anchor per manufacturer instructions.
- Screw in hook or D‑ring.
- Hang art and verify stability.
- Insert anchor per manufacturer instructions.
Plaster, Brick & Concrete
Masonry Anchors & Hammer‑Drill
- Use a masonry bit to pre‑drill through the plaster or brick.
- Tap in a masonry anchor.
- Fasten with a screw or bolt.
- Tip: Choose anchors rated for at least double your art’s weight.
- Tip: Choose anchors rated for at least double your art’s weight.
Adhesive Alternatives
- Heavy‑duty construction tape (for outdoor panels)
- Structural epoxy: permanent bond, ideal for non‑rental spaces
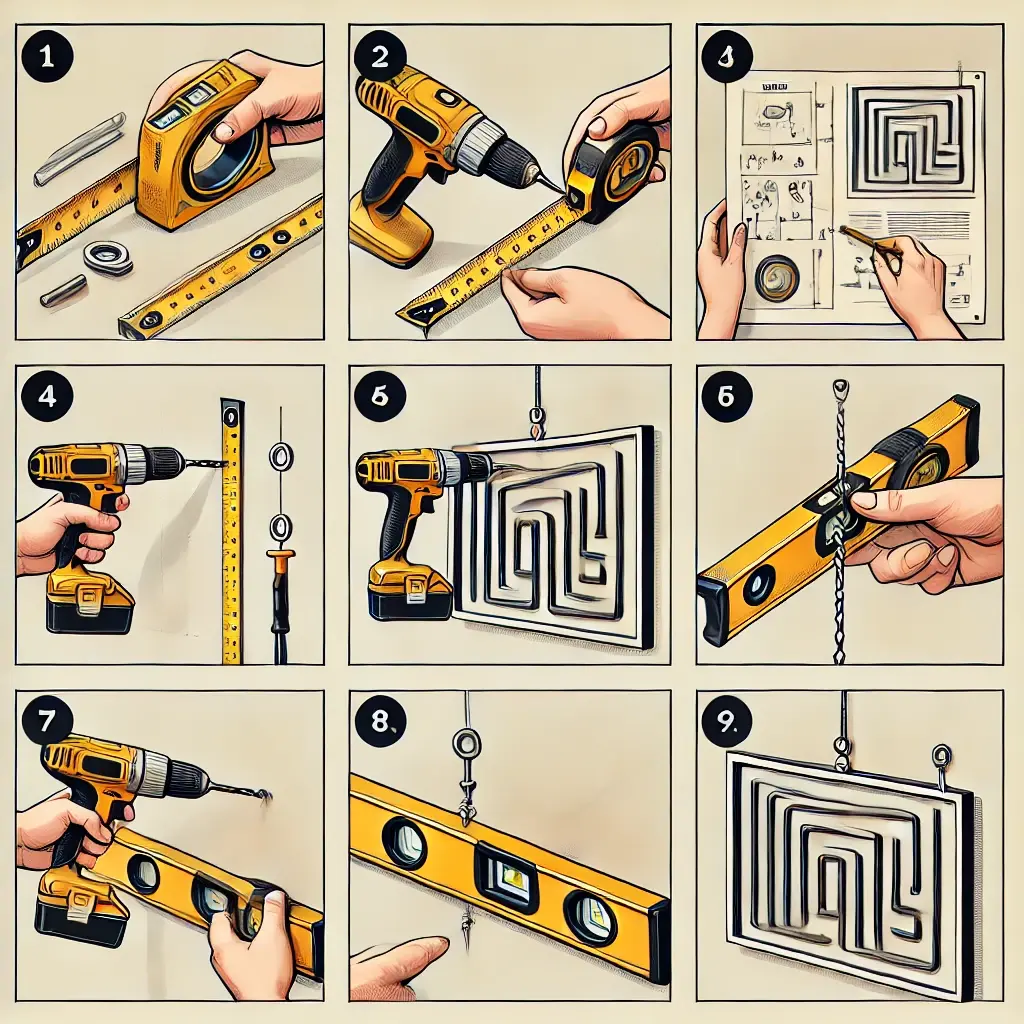
Step‑by‑Step Hanging Guide
1-Measure & Mark
- Determine ideal height: center of art 57–60 inches from the floor.
- Use painter’s tape or a paper template to preview placement.
2-Locate & Prep
- Find studs or select appropriate anchors for your wall type.
- Clean wall surface of dust and grease.
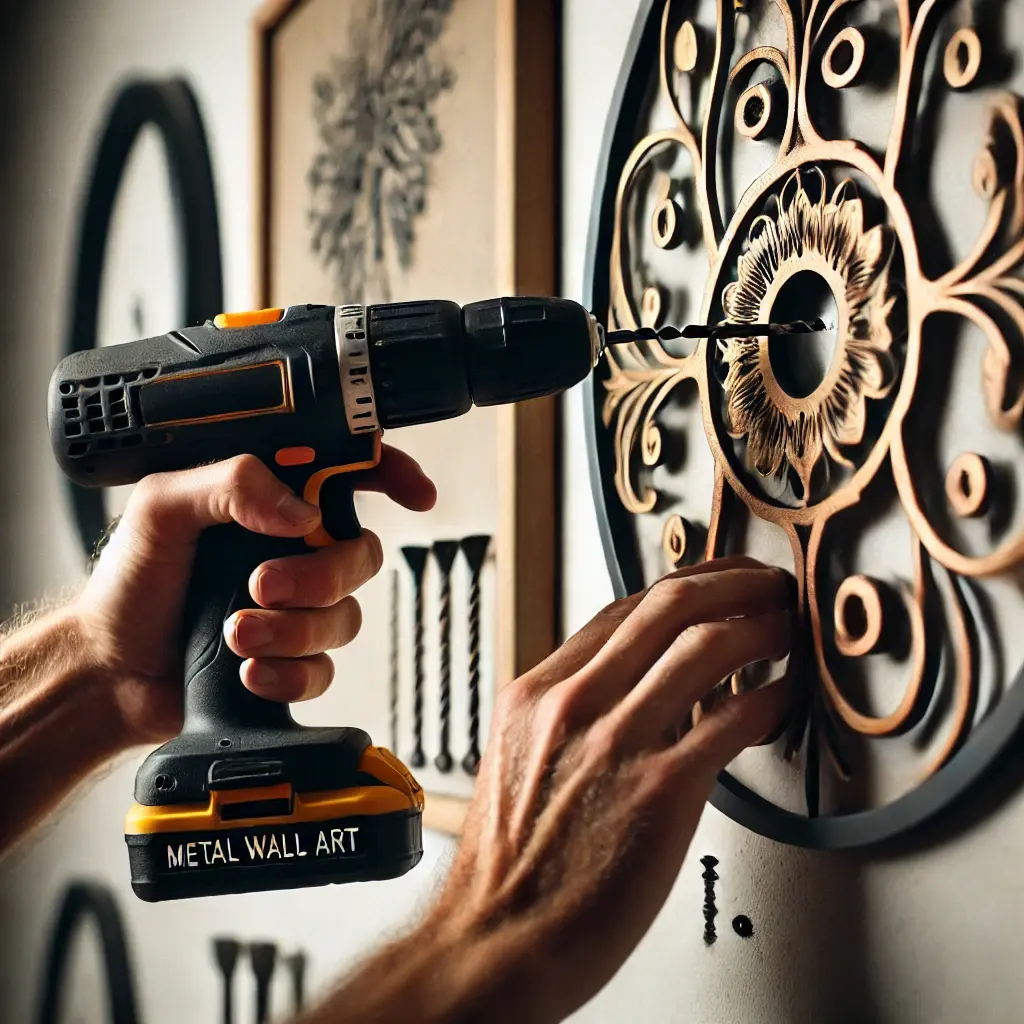
3-Install Hardware
- Drill pilot holes for screws or anchors.
- Mount French cleats for heavy pieces, ensuring both cleat halves align.
4-Hang & Level
- Lift art onto hooks or cleat.
- Check with a bubble level; adjust as needed.
5-Secure & Test
- Gently tug downward to confirm stability.
- Add rubber bumpers on back corners to protect wall and stabilize the piece.
Tips for Heavy vs. Light Metal Wall Art
- Heavy Pieces:
- Use a French cleat system: distributes weight evenly and hides hardware.
- Employ dual anchor points spaced at least 12″ apart for balanced support.
- Use a French cleat system: distributes weight evenly and hides hardware.
- Lightweight Pieces:
- Command strips or Velcro strips allow repositioning without marks.
- Magnetic hooks work on sheet‑metal walls, perfect for thin art panels.
- Command strips or Velcro strips allow repositioning without marks.
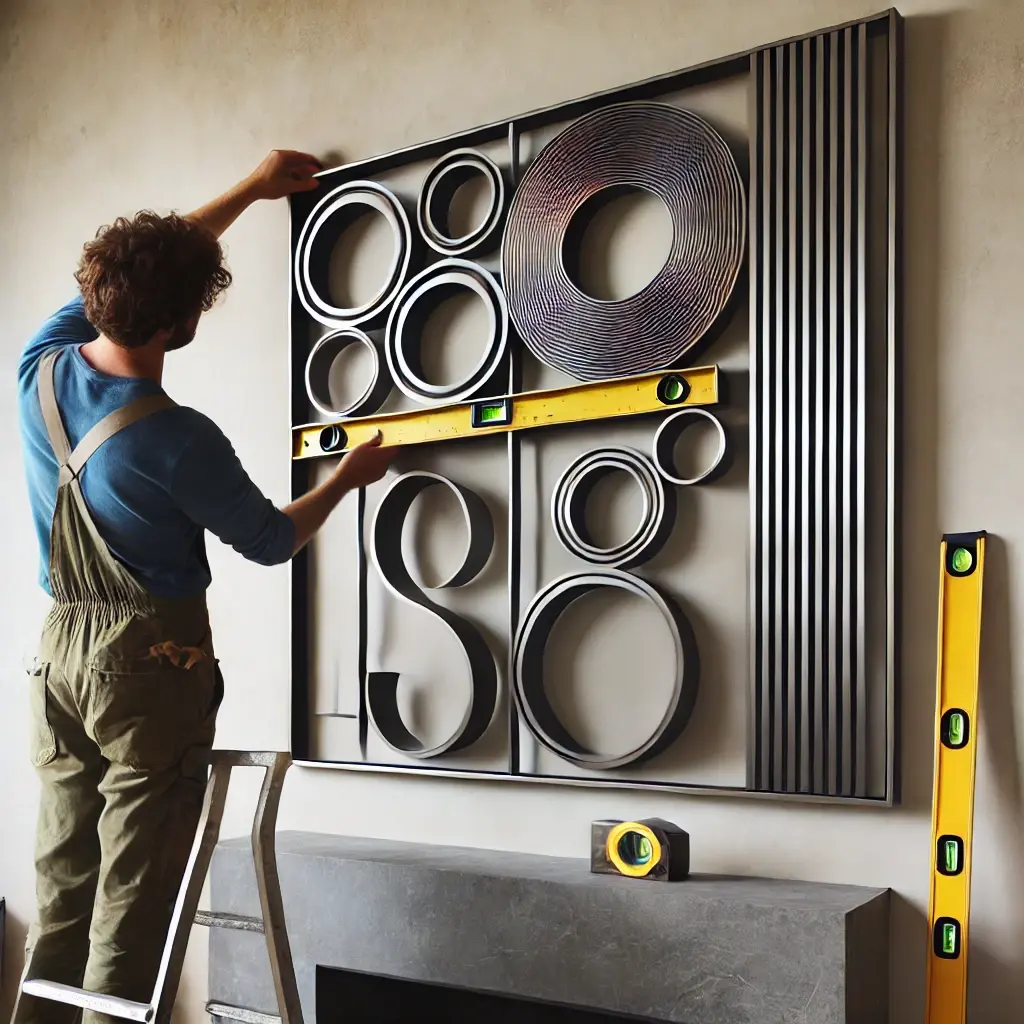
Styling & Placement Best Practices
Statement Walls
- Center a large metal sculpture above a sofa, bed, or fireplace.
- Ensure at least 6–12″ of breathing room around the piece.
Gallery Groupings
- Mix metal art with framed prints or wood accents.
- Arrange in a grid or salon style, keeping 2–3″ between items.
Alignment Rules
- Follow the rule of thirds: place art at one‑third or two‑thirds along the wall’s height.
- Align bottom edges of grouped art at the same level for cohesion.
Common Mistakes to Avoid
Maintenance & Care
Cleaning Metal Art
- Use a soft microfiber cloth and mild soap solution.
- Avoid abrasive cleaners that scratch powder‑coat finishes.
Annual Hardware Check
- Retighten screws, replace any loose anchors, and verify bumpers are intact.
- Inspect for rust on outdoor pieces and apply clear sealant if needed.
FAQs: How to Hang Metal Wall Art
Can I hang metal wall art without studs?
Yes—use heavy‑duty wall anchors or command strips rated for your art’s weight.
What’s the best hardware for outdoor metal sculptures?
Galvanized or stainless‑steel anchors and screws resist corrosion in all climates.
How high should metal wall art be hung?
Aim for the center at 57–60″ from the floor, or 6–8″ above furniture.
Can I use picture wire for metal art?
Only for pieces under 15 lbs; heavier art requires rigid cleats or brackets.
What anchors work on plaster walls?
Toggle bolts or masonry anchors provide secure mounting in brittle plaster.
How do I level heavy metal panels?
Install a French cleat perfectly horizontal, then hang and fine‑tune with thin rubber bumpers.
Are there no‑drill options for renters?
Command strips (up to 16 lbs) and Velcro heavy‑duty strips (up to 20 lbs) offer damage‑free hanging.
How do I prevent glare from metal art?
Angle spotlights or install matte-finish panels to diffuse reflections.
What’s the safest way to hang metal art in a child’s room?
Use dual‑anchor points on studs and secure with locki
Conclusion & Call‑to‑Action
You now have the knowledge and confidence to hang metal wall art like a pro—no crooked frames or surprise crashes. Gather your tools, pick the method that suits your wall, and bring your metal pieces to life on your walls.
👉 Ready to transform your space? Share a snap of your new display with us on social media using #MyMetalArtWall, and subscribe for more décor tips that elevate your home.