
How to hang wood art on wall is easier than you think—you’ve invested in a stunning piece of wooden décor, and now it deserves the perfect showcase. Whether it’s a reclaimed‑wood panel or a sleek modern veneer, hanging wood art correctly means it looks its best, stays secure, and lasts for years. In this guide, you’ll discover why proper hanging matters, the essential tools you’ll need, step‑by‑step prep and placement tips, multiple hanging methods for any weight or surface, room‑specific styling advice, leveling tricks, and how to avoid common pitfalls. By the end, you’ll be ready to transform your walls into a gallery of wooden masterpieces.
Table of Contents
Why Properly Hanging Wood Art Matters
Aesthetic Impact & Room Harmony
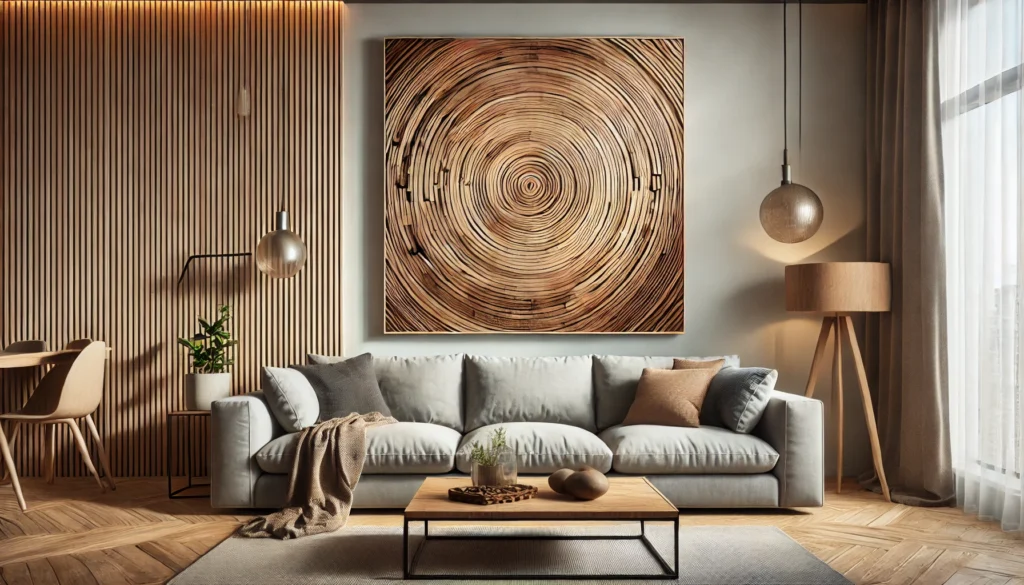
When you hang wood art thoughtfully, you transform a blank wall into a curated focal point. By centering pieces at eye level and balancing scale against furniture and architectural features, you create visual harmony. A well‑placed wooden panel:
- Draws the eye and anchors the room’s design
- Complements your color palette and textures
- Enhances your space’s flow and balance
Safety & Longevity
Wood art can be surprisingly heavy. A securely mounted piece prevents accidents, protecting both people and your prized artwork. Proper hardware and technique:
- Prevent art from slipping or falling
- Guard your walls against damage
- Ensure longevity so you can enjoy your investment for decades
Tools & Hardware You’ll Need
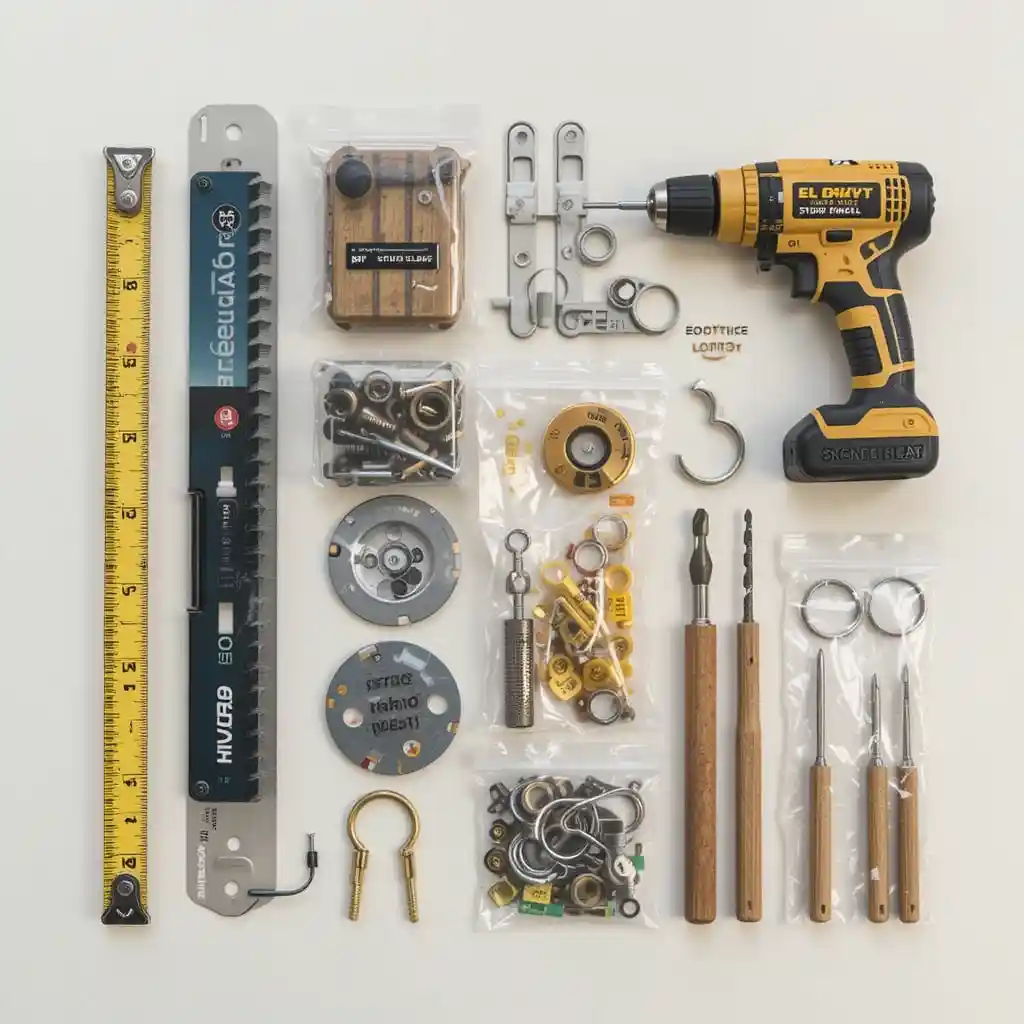
Measuring & Leveling Tools
- Tape Measure: Record both height and width at multiple points
- Pencil: Mark your hanging points precisely
- Level: Ensure your art sits perfectly straight
- Paper & Scissors: Create full‑size templates to preview placement
Hanging Hardware Options
- D‑Ring Hangers: Strong, versatile, ideal for mid‑weight pieces
- French Cleats: Best for heavy panels (>30 lbs), offer solid flush mounting
- Keyhole Hangers: Recessed into wood, hide beneath the panel
- Picture Hooks & Wall Anchors: Rated for specific weights; use toggles in drywall
- Adhesive Hooks/Strips: For lightweight art (<5 lbs) or rental walls
Power Tools & Accessories
- Drill: With masonry and wood bits as needed
- Stud Finder: Locate framing behind drywall or plaster
- Rubber Bumpers: Keep wood art flush and protect wall finish
Preparation & Placement
Finding the Perfect Spot
Not every wall is created equal. Consider:
- Wall Material: Drywall, brick, concrete, or plaster each require different anchors
- Furniture & Sightlines: Center art above sofas, beds, or consoles; leave 6–12″ clearance above furniture tops
- Room Function: High‑traffic areas need sturdier installations; hallways favor linear or staggered layouts
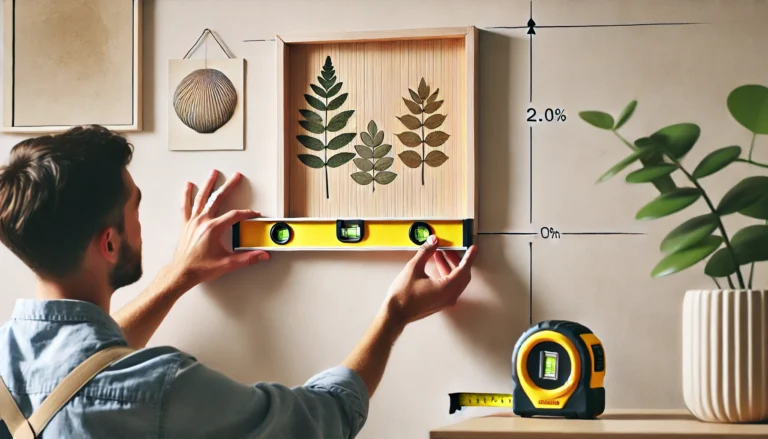
Measuring & Marking
- Determine Eye Level: Typically 57–60″ from floor to art center.
- Mark Stud Locations: Scan walls at multiple heights—studs run vertically ~16″ apart.
- Create Paper Template: Trace the art’s outline on paper, cut it out, tape at eye level to preview.
- Mark Hardware Points: Transfer D‑ring or cleat positions onto the template, then onto the wall.
Hanging Techniques for Different Wood Art
Lightweight Panels (<10 lbs)
- Adhesive Hooks/Strips: Clean wall, apply strips per instructions, press art firmly for 30 sec.
- Small Picture Hooks: Use one or two hook nails, hang from wire or D‑rings.
Medium‑Weight Art (10–30 lbs)
- Wall Anchors + D‑Rings: Pre‑drill pilot holes, insert anchors, attach D‑rings on back of panel, hang so rings engage hooks.
- Keyhole Hangers: Embed on wood, drive screws into wall at marked points, slide art down into keyholes.
Heavy & Oversized Pieces (>30 lbs)
- French Cleat System:
- Mount one cleat strip (angled) into wall studs.
- Attach mating cleat strip to panel back.
- Lift and engage both strips—secure, flush, and layered.
- Dual‑Stud Brackets: Use two heavy‑duty brackets directly into studs.
Special Surfaces & Rentals
- Brick or Concrete: Use masonry bits and tap‑in anchors or sleeve‑anchors rated for weight.
- Rental Walls/No‑Damage: Command ™ strips for ≤5 lbs; tension rods and spring‑clip systems for decorative panels.
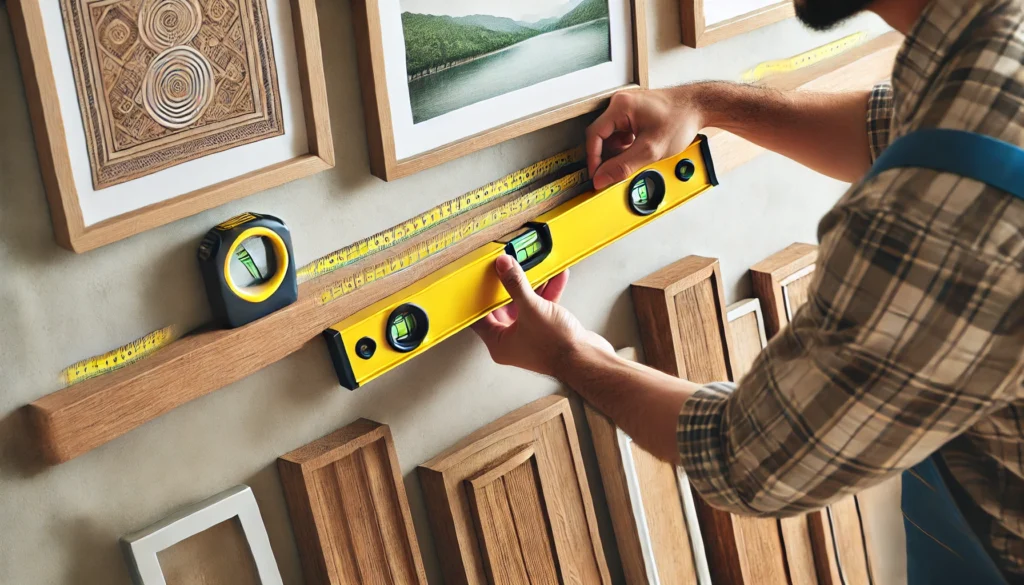
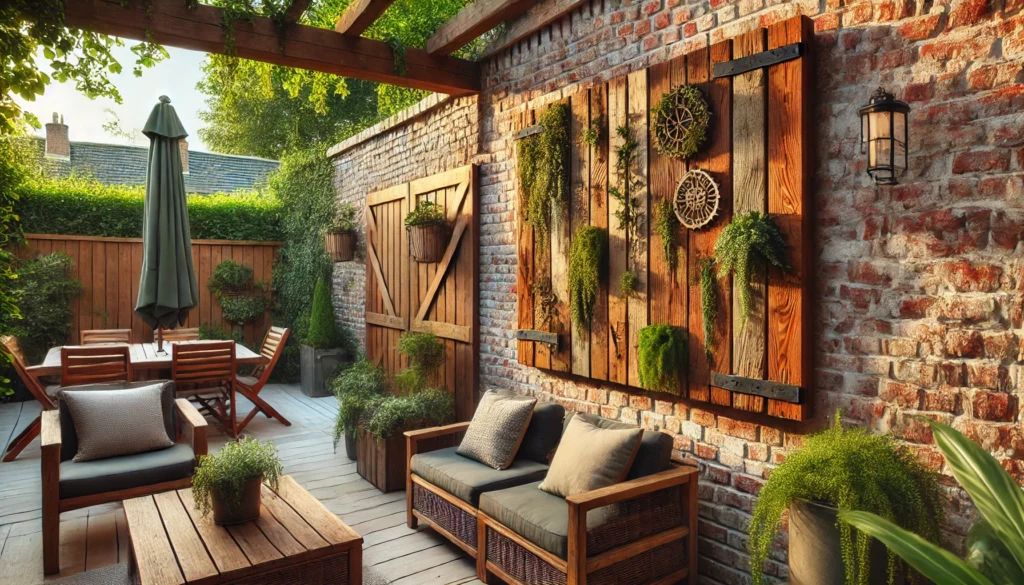
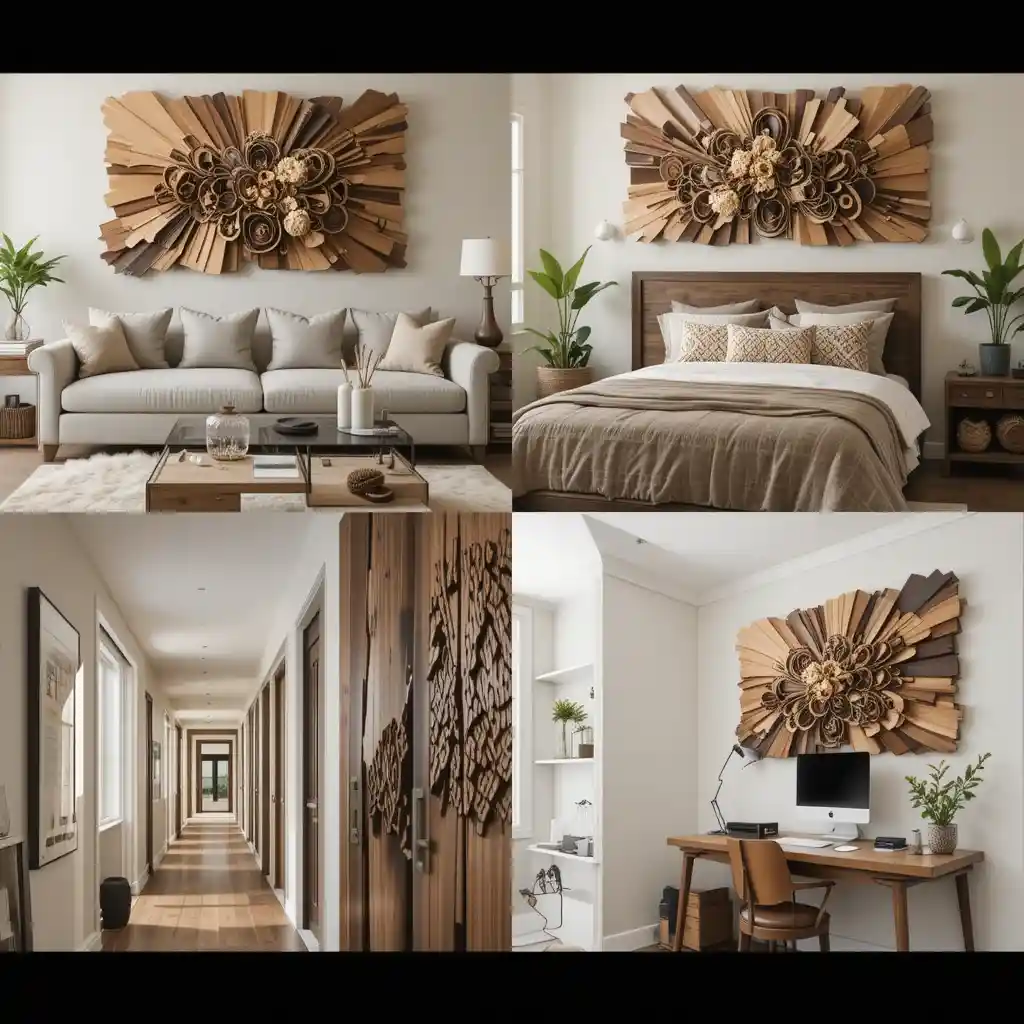
Room‑by‑Room Placement Tips
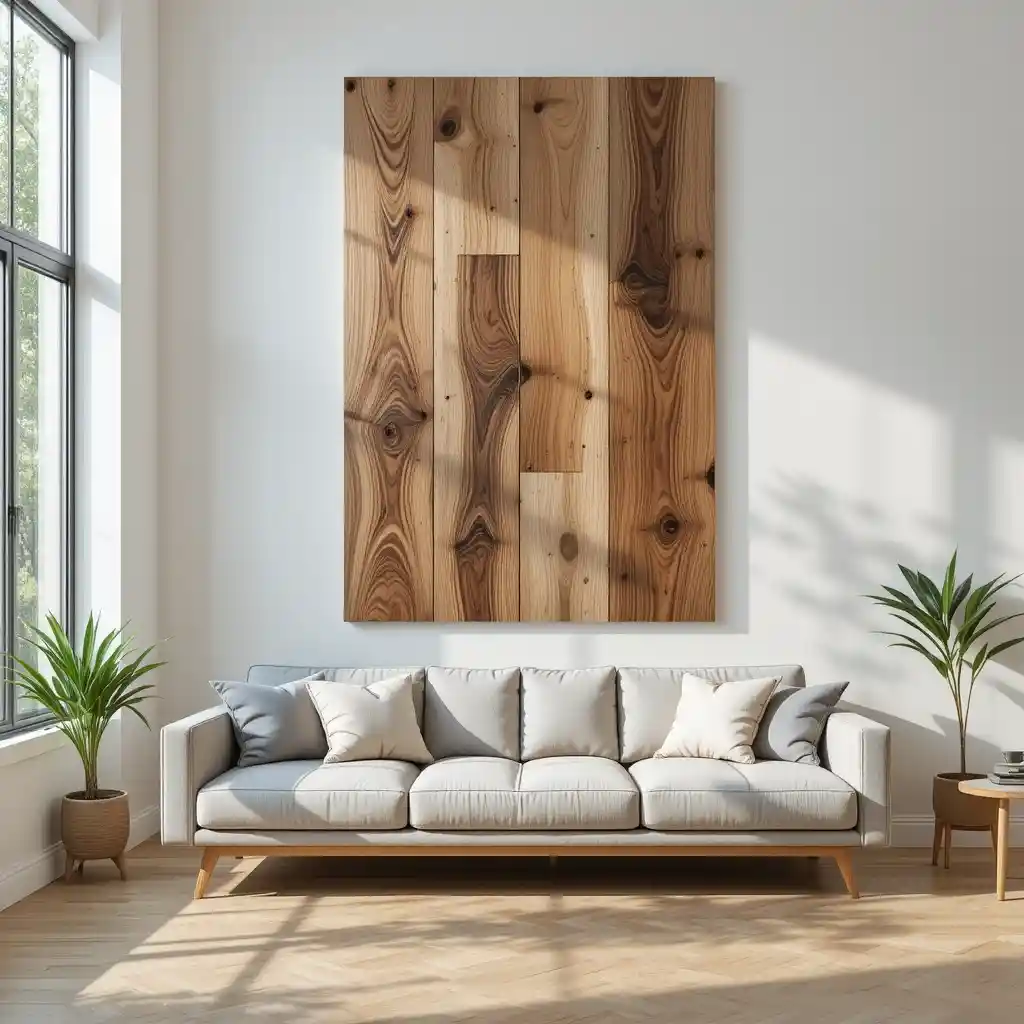
Living & Dining Rooms
- Gallery Wall with Wood Art: Mix sizes and orientations; start with a central anchor piece, then arrange smaller pieces around it.
- Above Sofa or Buffet: Center main piece 6–8″ above furniture; flank with sconces or framed prints.
Bedroom & Home Office
Hallways & Entryways
- Linear Layout: Hang wood art at consistent height on both sides; 4–6″ spacing between pieces for flow.
- Staggered Heights: Alternate high and low to guide eye movement; perfect for multiple small panels.
Leveling, Adjusting & Finishing Touches
- Verify Level: After hanging, place level across top edge—adjust screws or bumpers to correct tilt.
- Use Bumpers: Stick small rubber bumpers on bottom corners to keep art flush and prevent shifting.
- Touch‑Up Wall: Fill minor holes or marks with matching spackle, sand smooth, and paint if needed.
Common Mistakes to Avoid
- Hanging Too High/Low: Always center at eye level; too high disconnects from the room.
- Ignoring Weight Limits: Don’t guess hardware ratings—match anchors to actual art weight plus 25% safety margin.
- Overcrowding Walls: Give each piece breathing room; overcrowded walls feel chaotic.
- Skipping Studs for Heavy Art: Anchors aren’t substitutes for studs when supporting large panels.
- Forgetting Vertical Alignment: Misaligned multi‑panel arrangements look sloppy—measure twice before drilling.
Frequently Asked Questions
Can I hang wood art without studs?
Yes—use heavy‑duty wall anchors (toggle bolts or molly bolts) rated above your art’s weight. For lighter pieces (<10 lbs), adhesive strips also work.
What hardware is best for reclaimed wood panels?
French cleats provide maximum support and concealment. D‑rings with screws into studs work too for medium sizes.
How high should I hang my wood art?
Aim for the center at 57–60″ from the floor. Above furniture, leave 6–12″ clearance between art bottom and furniture top.
Are command strips safe for wood art?
They hold up to 5 lbs per strip. For heavier pieces or textured wood surfaces, opt for mechanical anchors.
Conclusion & Next Steps
You now have a complete blueprint for how to hang wood art on wall—from selecting the right hardware and measuring carefully, to mastering diverse hanging techniques and styling each room. Gather your tools, reference this guide as you work step‑by‑step, and transform your walls into galleries of wooden marvels.
👉 Ready to elevate your décor? Grab your stud finder, mark those spots, and mount your first wood art piece today. Then snap a photo of your handiwork and share it on social media with #MyWoodArtWall—we can’t wait to see your stunning installations!